Showing posts with label Inky Technique. Show all posts

11 September 2024

Colour INKspiration Challenge #CI173


 Hello and welcome, 

My name is Vicki Boucher, and I am from Melbourne, Australia. Tonight, is the latest Colour INKspiration Challenge #CI173 this photo was chosen by Colour INKspiration Crew Member, Bronwyn Eastley (Colour INKspiration founder).


The chosen colour combination for #CI173 is Very Vanilla, Shy Shamrock and Cherry Cobbler. As well as the chosen colours you may also like to add Basic White, Basic Black, Very Vanilla, Basic Beige, Crumb Cake and metallics to your project. We also allow 'Ivory', 'Bronze' and 'Natural Tones' in the Stampin' Blends. If you don't have all the colour palette, feel free to use the closest SU substitute (ie: Real Red instead of Cherry Cobbler .... for example).

The challenge will run for almost 2 weeks until 7pm (AEST) on Monday 23rd September 2024 details to follow at the end of my blog.


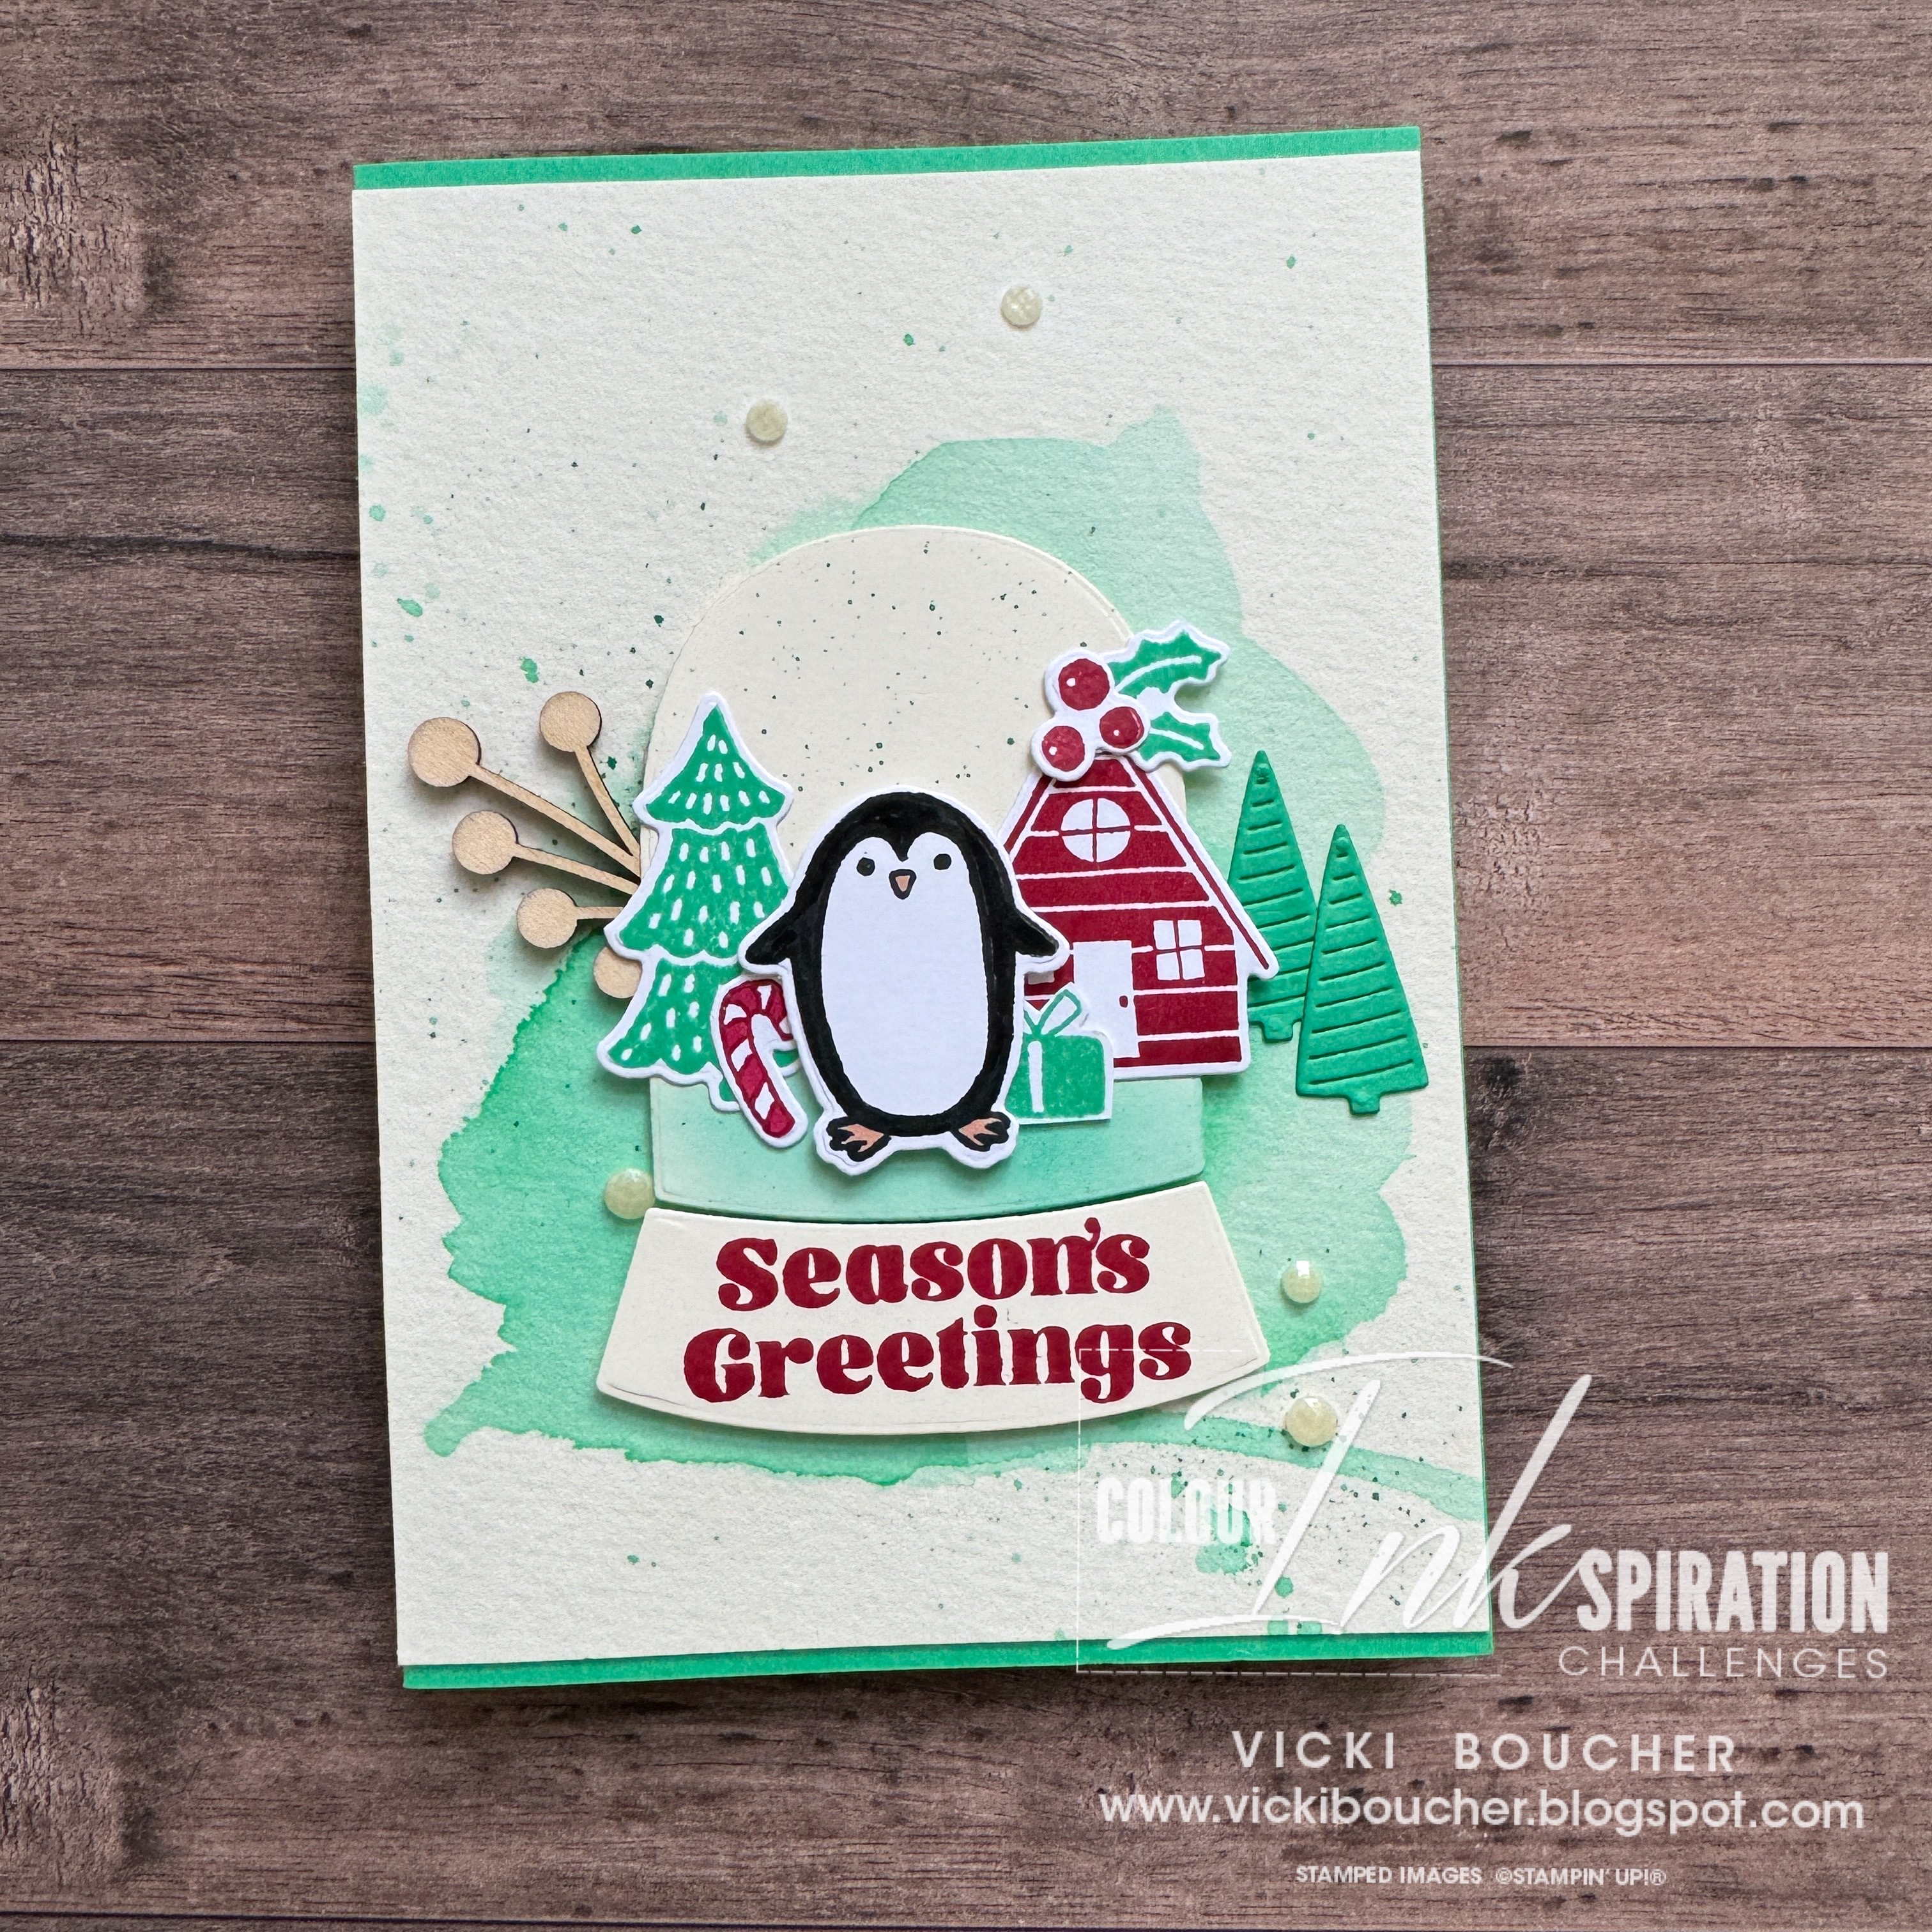
Today's card is a Christmas card using the Snowy Wonder bundle (164125) it's from the Snowy Scenes Suite Collection and it's located on page 33 of the Stampin' Up! 2024 Mini Catalogue. I instantly fell in love with the cute penguin from the stamp set and I just had to get it. He's so cute!

I stamped the images using the challenge colours onto Basic White cardstock and the penguin using Tuxedo Black Memento ink. Then I used the coordinating Snowy Wonder Dies to die-cut out the images.


There are two different types of dies to make a snow globe where you could make a shaker card, but I went with a simpler way by using Very Vanilla cardstock die-cut out the snow globe and then add the different elements to the snow globe.

I made a background water colour wash using Fluid 100 Watercolor Paper and Shy Shamrock ink. To create this effect, I first add water with the Water Painter to the watercolor paper, next I add diluted ink to the paper and push it around with the Heat Tool until the ink dries out. I like to go back and add more ink to the paper to achieve a deeper colour.

I added some embellishments to the card using Very Vanilla Earth Tones Shimmer Gems (164070) and Textural Elements (159966).


I hope I've inspired you with the latest challenge and I do hope you'll join in. We so look forward to seeing a variety of projects using the challenge colours. Please ensure that your project is new and made specifically for this challenge.

Challenge guidelines:

  • Create a NEW project made specifically for this challenge.
  • Use all of the challenge colours (or close substitutions) unless stated.
  • Upload only ONE picture per entry straight to the discussion wall and NOT in an album.

Colour INKspiration Challenge #CI173 will run until 7pm (ADET) on Monday 23rd September 2024.

To get your creative ideas flowing, make sure you check out the Crew's Project in the CI173 Album.

Please click on the link here to join the challenge.


Thank you for visiting my blog today, I would so love to hear your thoughts on my project by leaving a comment below.

Please email me if you would like a copy of the 2024-2025 Stampin' Up! Annual Catalogue send an email to me here. 


If you live in Australia and don't have a demonstrator, you can purchase any of the Stampin' Up! products by shopping with me at my Stampin' Up! online store here.

Make sure you follow me on social media via Facebook, Instagram and Pinterest.


Happy Stamping

Vicki Boucher


21 July 2024

Stamping Sunday Blog Hop - Kaleidoscopic Depths


Hello and welcome,

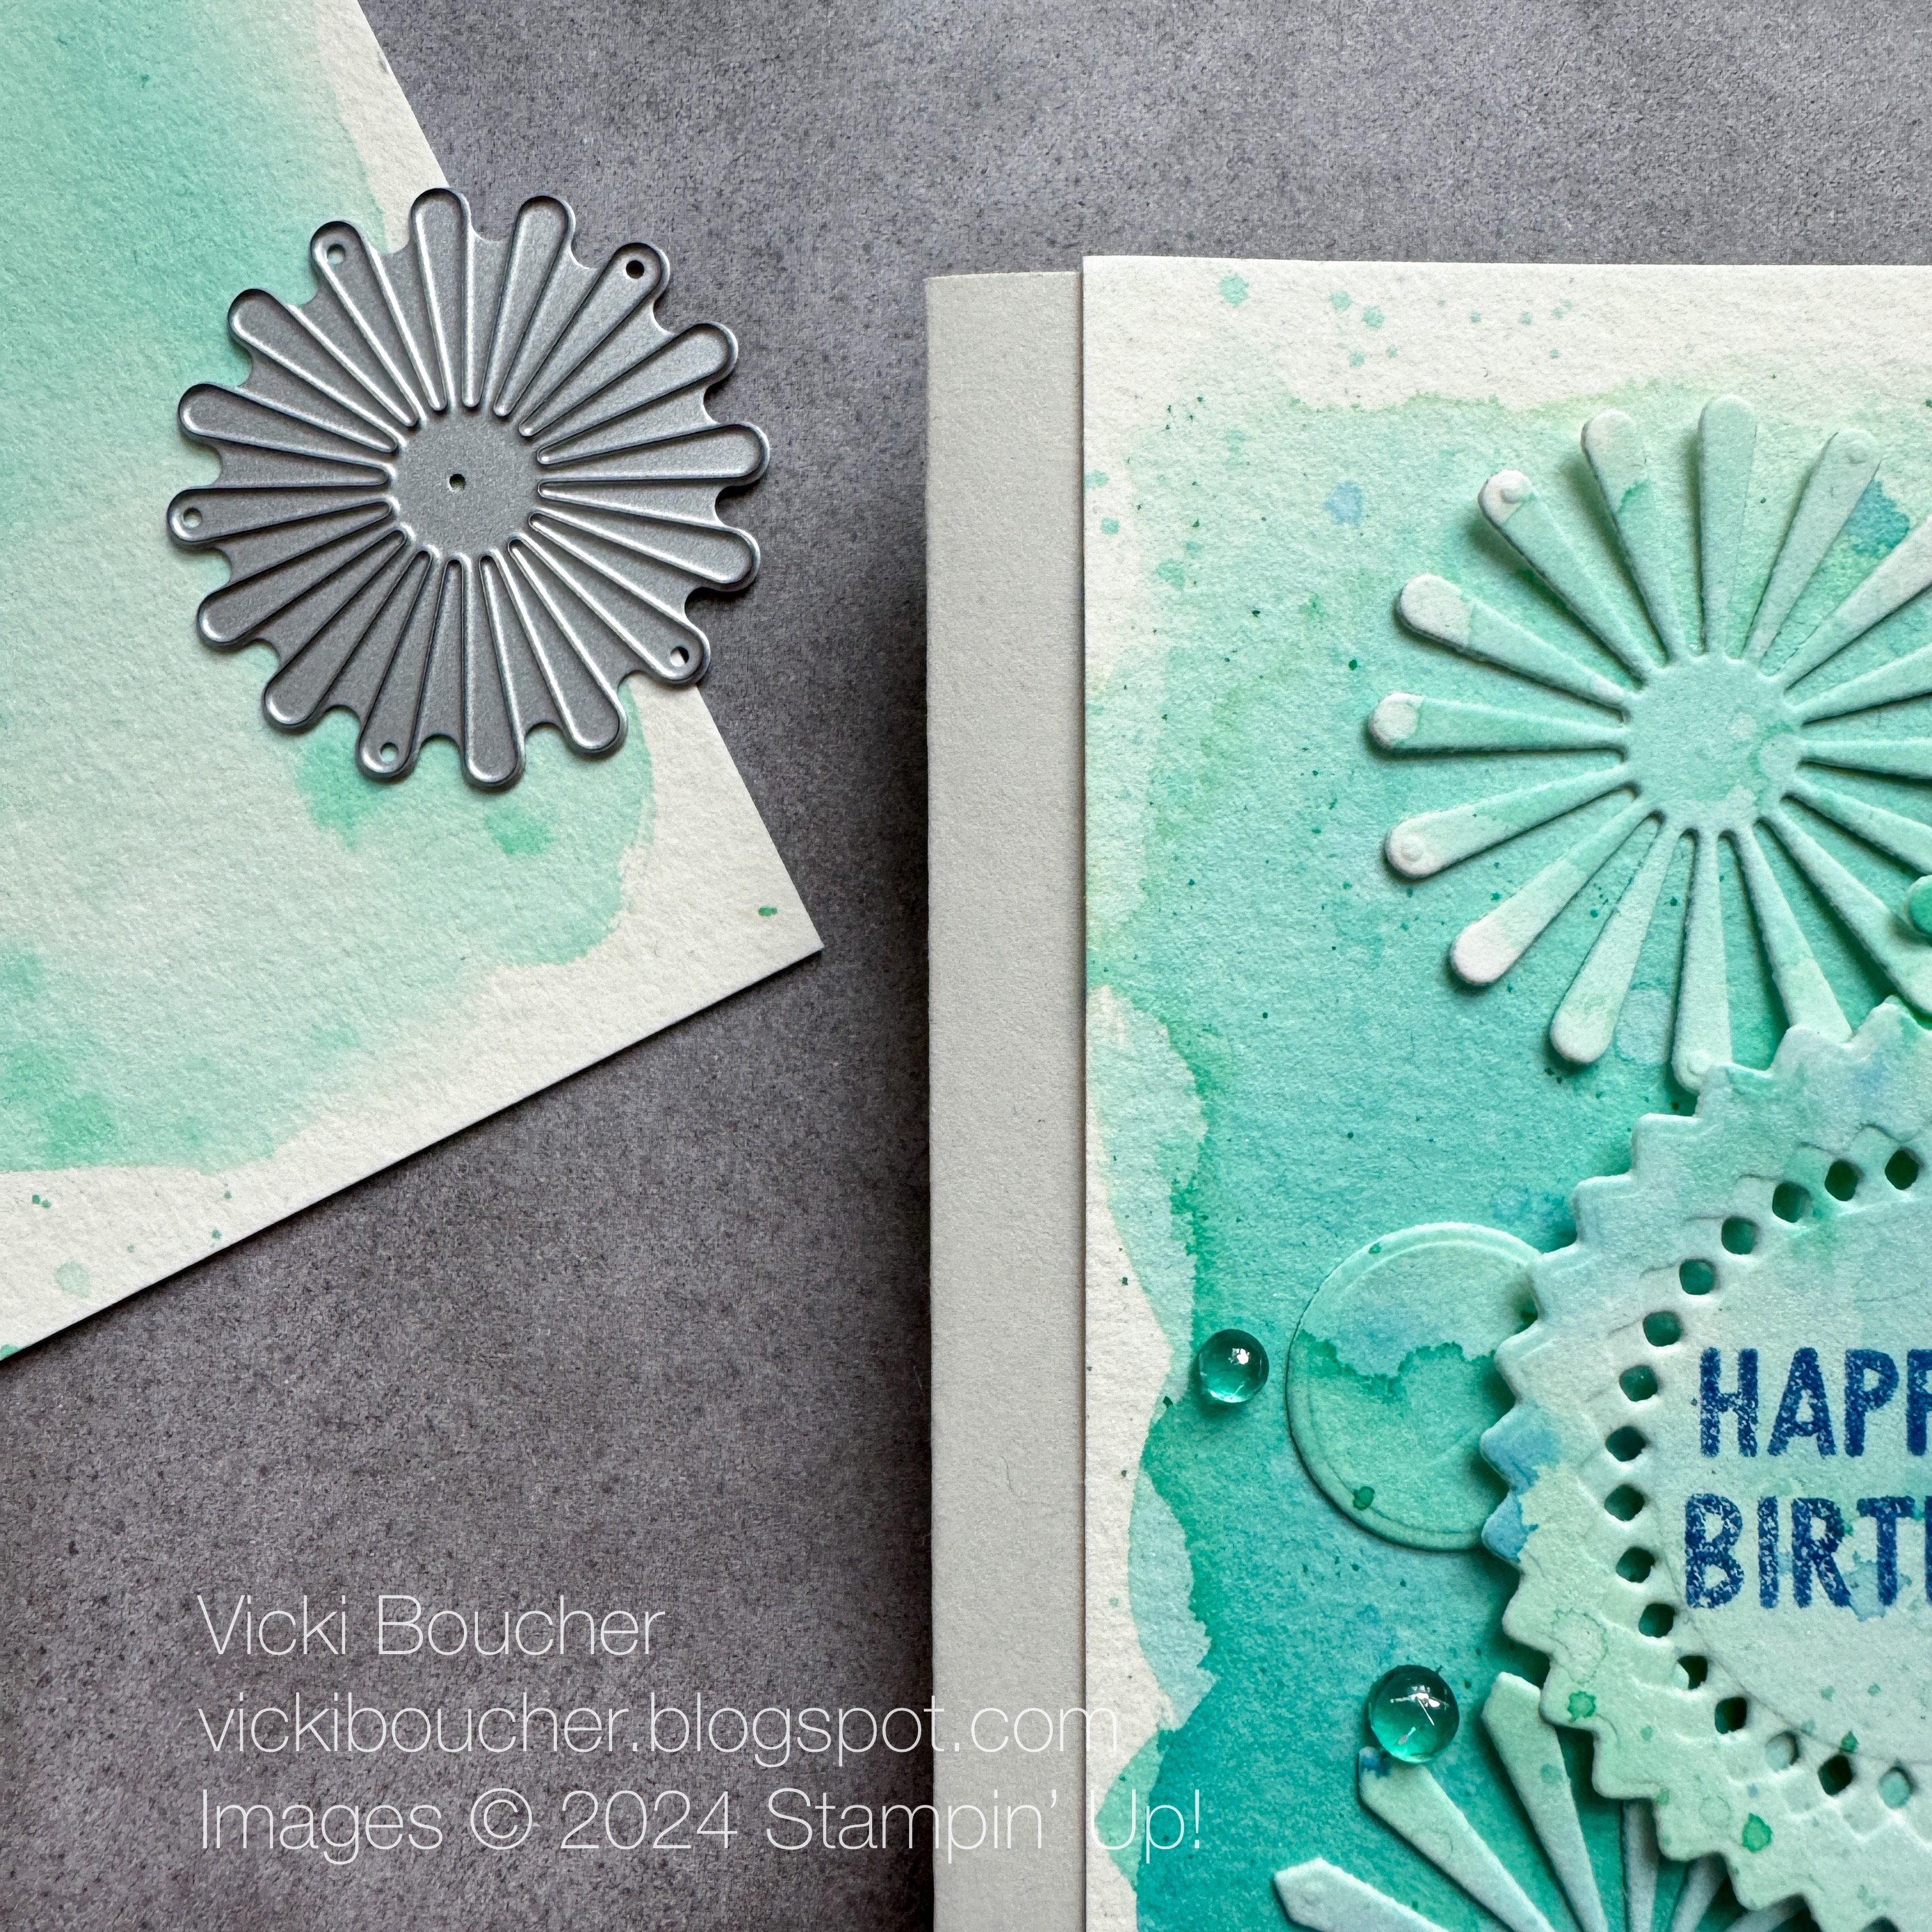
My name is Vicki Boucher and I'm from Melbourne, Australia. Today is Stamping Sunday blog hop for the month of July and for this month's theme is "Kaleidoscopic Depths" colours from under the sea for our projects. It's the 3rd Sunday of the month. I'm looking forward to seeing everyone's projects and you'll be able to see them by clicking on their names at the end of my blog.


The colours I've chosen are turquois a mixture of blues and greens for my card and here's my inspiration photo I found it on Pinterest, see below. I do love the colours of the sea. I used a range of Stampin' Up! Colors starting with Pool Party, Coastal Cabana, Summer Splash, Shy Shamrock, Azure Afternoon, Blueberry Bushel and Night of Navy.


I started playing around with the colours for a water colour wash and a under the sea background. I used Fluid Flow Watercolour Paper, a wide tip brush Water Painter and all of the above mentioned coloured inks. I started with the lightest colour at the top and then moved my way down to the darkest colour. I used the Heat Tool to dry the inks on the watercolour paper and then I would apply more ink to achieve a deeper colour. Next, I added splatters of ink by tapping the brush against the Bone Folder.


I used the Round We Go Bundle which is in the Stampin' Up! Annual Catalogue and is located on page 63. I love the pinwheels from the Round We Go Dies they are so much to use and to create different elements for your projects. I made another water colour wash using the same technique as before for the pinwheels and smaller circles.


The sentiment is stamped in Blueberry Bushel onto a part of the watercolour wash and then I used the Round We Go Dies to die-cut the sentiment. Then I layered the different elements onto the card and added Tinsel Gems in Blueberry Bushel and Lost Lagoon. 


Thank you for visiting my blog today, I would so love to hear your thoughts on my project by leaving a comment below.


Please email me if you would like a copy of the 2024-2025 Stampin' Up! Annual Catalogue send an email to me here. 


If you live in Australia and don't have a demonstrator, you can purchase any of the Stampin' Up! products by shopping with me at my Stampin' Up! online store here.

Make sure you follow me on social media via Facebook, Instagram and Pinterest.


Happy Stamping

Vicki Boucher


To see all of the amazing projects by the Stamping Sunday Design Team please click on their names below. 


12 April 2024

Colour INKspiration Challenge #CI163


 Hello and welcome, 

My name is Vicki Boucher, and I am from Melbourne, Australia. Tonight, is the latest Colour INKspiration Challenge #CI163 this photo was chosen by Colour INKspiration Crew Member, Monica. What an awesome colour palette to work with and so very different. 


The chosen colour combination for #CI163 is Crushed Curry, Poppy Parade, Coastal Cabana, Gorgeous Grape and Starry Sky. As well as the chosen colours you may also like to add Basic White, Very Vanilla, Basic Beige, Crumb Cake, Basic Black and metallics to your project. We also allow 'Ivory', 'Bronze' and 'Natural Tones' in the Stampin' Blends. If you don't have all the colour palette, feel free to use the closest SU substitute (ie: Night of Navy instead of Starry Sky.... for example).

The challenge will run for almost 2 weeks until 7pm (AEST) on Monday 22nd April 2024 details to follow at the end of my blog.


When I first saw these colours I wasn't too sure on how I was going to use them as it's not my normal go to mix of colours and then I realised they are the colours of the rainbow! Especially when you start blending them together for example Crushed Curry with Poppy Parade makes orange, Starry Sky with Gorgeous Grape makes a violet or indigo and so on. This was so much fun and I like to play with colour.


I used a sheet of Basic White Cardstock and started adding ink onto the cardstock with the Blending Brush and then I would add a colour to see how it would blend in together. Once the ink dried, I then added splatter of water droplets using my fingers and I created lots of water droplets. I used the two small maple leaves dies from the Autumn Leaves Dies and die-cut out lots of maple leaves to form a rainbow wreath.


I created a large ring by die-cutting the two largest circle dies from the Stylish Shapes Dies this would form the base for my wreath and then I would start to add the leaves one by one using Multi Tombow Mono Liquid Glue.


I wanted the wreath to pop out from the card and so I used the new Basic Beige Cardstock for the background panel for some added texture I embossed it with the Timber 3D Embossing Folder and scored 2cm lines to create wood panels. Then I added some Crumb Cake ink using the Blending Brush and applied to the embossed panel this gives it some added interest to the embossed impressions. 


I also added another coloured layer underneath the Basic Beige embossed panel and it's just enough to peak through by curling the corner using your fingers. 


To finish off the card I heat embossed the sentiment which is from the new Simply Said Stamp Set which is in the new Stampin' Up! Annual Catalogue for 2024 to 2025.


I hope I've inspired you with the latest challenge and I do hope you'll join in. We so look forward to seeing a variety of projects using the challenge colours. Please ensure that your project is new and made specifically for this challenge.

Upload only one picture per entry straight to the discussion wall and not in an album

Colour INKspiration Challenge #CI163 will run until 7pm (ADET) on Monday 22nd April 2024.

To get your creative ideas flowing, make sure you check out the Crew's Project in the CI163 Album.

Please click on the link here to join the challenge.


Thank you for visiting my blog today, I would so love to hear your thoughts on my project by leaving a comment below.

Please email me if you would like a copy of the 2024-2025 Stampin' Up! Annual or Mini Catalogue send an email to me here. 

If you live in Australia and don't have a demonstrator, you can purchase any of the Stampin' Up! products by shopping with me at my Stampin' Up! online store here.

Make sure you follow me on social media via Facebook, Instagram and Pinterest.


Happy Stamping

Vicki Boucher


07 October 2023

Artisan Design Team - Creative Project - Merriest Trees Bundle


Hello! My name is Vicki Boucher, and I am from Melbourne, Australia. Today I'm sharing two Christmas slimline card ideas using the lovely and versatile Merriest Trees Bundle and other Stampin' Up! products.

When it comes to creating my projects, I love to show a variety of different techniques and add lots of layers. Playing with different colour palettes is always fun! Slimline cards can add another dimension to your paper craft when using Stampin' Up! products.


Here are two magical Christmas cards made using non-traditional colours. I love to create and mix colours together using different tools. I'll add the product details at the end of my blog. 


Spirit of the Season Slimline Christmas Card

For my first card I wanted to create a whimsical watercolour Christmas trees using Fluid 100 Watercolor Paper and have fun mixing inks together.


Create unique watercolour trees by mixing ink with water, then apply sections of colour to Watercolor Paper using a large, flat, brush tip Water Painter. The colors I used are Boho Blue, Orchid Oasis and Blueberry Bushel. Move the ink around on the paper with the Heat Tool until dry. Use the Merriest Trees Dies to die cut several different tree sizes. 


To add interest to the trees, use a Sponge Dauber and apply VersaMark Ink to the edges of the branches. Then, add white Stampin' Emboss Powder, brush off the excess with a brush, and heat set using the Heat Tool. I like to use the Stampin' Up! tweezers to hold onto smaller pieces of images, so I don't heat my fingers with the Heat Tool.

To decorate the trees, I used Soft Shimmer Paper in Bubble Bath, placed Adhesive Sheet to the back of the paper and then die-cut out the tree decorations and stars. 

To add layers to the card, create background snow by tearing up two layers using Basic White Cardstock and add Boho Blue and Orchid Oasis ink using the Blending Brush.


Stamp the stars a number of times to the background panel using VersaMark Ink, add white Stampin' Emboss Powder and heat set with the Heat Tool. Then apply lightly using Boho Blue and Orchid Oasis Ink with the Blending Brush to the background panel. 


Merry Christmas Slimline Card

For my second card I went for a nighttime scene using darker cardstock and inks. This created a totally different look to my first card. 


Create two snow layers for the background by tearing up Basic White Cardstock with your fingers. Next, using a Blending Brush to create contrast and leaving some white space between each of the layers. This helps create a snow effect for your layers. The colours used are Orchid Oasis and Starry Sky inks.


Apply colour to the trees using a Sponge Dauber for smaller sections and Blending Brushes for larger areas. I used Orchid Oasis and Starry Sky inks. Leave some white space to create snow for each of the layers. Then, add water droplets to the trees by tapping the medium tip Water Painter against Paper Snips and set them with the Heat Tool.

To create the background trees, use Starry Sky ink and stamp two of the trees directly onto Orchid Oasis Cardstock slimline panel. The third tree stamp onto a scrap piece of Orchid Oasis Cardstock and then die-cut out using the second largest tree die from the Merriest Tree Dies. 


To finish off the card, heat embossed the sentiment using VersaMark Ink, onto Orchid Oasis Cardstock, add white Stampin' Emboss Powder tap off excess and heat set with Heat Tool. Die-cut out tree using second largest tree die.


Here are the products you will need:

Merriest Trees Bundle (162048)
Starry Sky Cardstock (159263)
Orchid Oasis Cardstock (159267)
Basic White Cardstock (159276)
Fluid 100 Watercolor Paper (149612)
Soft Shimmer Specialty Paper (161750)
Starry Sky Classic Stampin' Pad (159212)
Orchid Oasis Classic Stampin' Pad (159214)
Boho Blue Classic Stampin' Pad (161650)
Blueberry Bushel Classic Stampin' Pad (147138)
Iridescent Adhesive-Backed Discs (161954)
Basics Stampin' Emboss Powders (155554)
Heat Tool (129053)
Embossing Additions Tool Kit (159971)
VersaMark Pad (102283)
Blending Brushes (153611)
Small Blending Brushes (160518)
Water Painters (151298)
Sponge Daubers (133773)
Wink of Stella Glitter Brush (141897)
Adhesive Sheets (152334)
Mini Stampin' Dimensionals (144108)
Multipurpose Glue (110755)
Paper Snips Scissors (103579)


Thank you for visiting my blog today, I would so love to hear your thoughts on my project by leaving a comment below.

Please email me if you would like a copy of the 2023-2024 Stampin' Up! Annual or Mini Catalogue send an email to me here. 

If you live in Australia and don't have a demonstrator, you can purchase any of the Stampin' Up! products by shopping with me at my Stampin' Up! online store here.

Make sure you follow me on social media via Facebook, Instagram and Pinterest.


Happy Stamping

Vicki Boucher


16 July 2023

Stamping Sunday Blog Hop - Bish, Bash, Bosh


 Hello and welcome,

My name is Vicki Boucher and I'm from Melbourne, Australia. Today is the Stamping Sunday blog hop for the month of July and it's all about showing you some tips on techniques. It's the 3rd Sunday of the month and gee time is flying by so quickly! I'm looking forward to seeing everyone's projects and you'll be able to see them by clicking on the links which will be at the end of my blog.


Today's project was also created for an event which was held in Melbourne yesterday to help celebrate Stampin' Up! 35th Birthday #stampinup35years #35for35 and this slimline card was one of the many cards I have created using the Textured Floral Bundle. I added the additional Wanted to Say Dies for this particular card.

I'll show you a fun way to create unique paper with Blending Brushes, inks and Stampin' Spritzer. Starting with the background strip of Basic White Thick Cardstock measured at 5cm x 21.5cm start by adding the lighter colour using the Blending Brush I've used Pool Party, Lost Lagoon and Pretty Peacock.


To create fine water droplets, spritz water using the Stampin' Spritzer and spritz onto the inked up cardstock. When finished, use a Heat Tool to thoroughly dry the cardstock.


To add interest and texture to your panel, tear the edge of the cardstock by using your fingers leaving the white of the cardstock facing up to you.


Next, use the above inked up technique for your detailed foliage dies which is from the Textured Floral Dies. Die-cut out the elements using your Stampin' Cut Emboss Machine and then add the layers to your card. 


Then stamp your images using Bubble Bath ink for the flowers and Pool Party with Lost Lagoon for the foliage. To finish off the card use Pretty Peacock and Basic White Cardstock for the sentiment by using the dies from the Wanted to Say Dies. Then place silver Sparkle Gems onto the card.


Thank you for visiting my blog today, I would so love to hear your thoughts on my projects by leaving a comment below.

Please email me if you would like a copy of the new 2023-2024 Annual Catalogue, please contact me here. 

If you live in Australia and don't have a demonstrator, you can purchase any of the Stampin' Up! products by shopping with me at my online store here. 

Make sure you follow me on social media via Facebook, Instagram and Pinterest.


Happy Stamping

Vicki Boucher

To see all of the amazing projects by the Stamping Sunday Design Team please click on their names below. 


15 July 2023

Artisan Design Team - Textured Floral


 Hello and welcome,

My name is Vicki Boucher and I'm from Melbourne, Australia. Today, I'll be sharing with you two projects I created for Stampin' Up! earlier this month for my Monthly Artisan Assignment using the Textured Floral Bundle which was shared on Stampin' Up! socials. The design team did such an amazing job on their projects so make sure you check out their creations. I'll have the link at the bottom on my blog.


Textured Floral Bundle (161232)


The Textured Floral Bundle (161232) is in the Stampin' Up! 2023-24 Annual Catalogue and is located on page 65 of the catalogue. The bundle includes Textured Floral stamp set (161229) and Textured Floral Dies (161232). I just love this bundle and I was so happy I could share with you this beautiful bundle and turn them into two projects.

Here are my two projects that I have created using the Textured Floral Bundle.


Birthday Blooms Pretty Peacock Card

To create my first card, I went for soft greens with a mix of brown tones and glimmer. I have used this layout before and it's becoming one of my favourite ways to use this layout. The card base is Pretty Peacock which is a stunning colour and it works beautifully with Lost Lagoon and Pool Party. I've created a distressed look for the cardstock panels by tearing the cardstock using my fingers and then placing them under the stamped images.


To create the larger flowers, I have stamped them in Lost Lagoon ink then stamped off once onto grid paper and then with a Sponge Dauber add Pretty Peacock ink to the center of the flower. Then I used the Stampin' Spritzer and spritz water onto the stamp, then I stamped the image onto Basic White Cardstock. This technique is lots of fun and not every same image will look the same. 

Other combination of colours used for the flowers are the following: Crumb Cake stamped off once then add Pecan Pie with the Sponge Dauber then spritz etc. Gray Granite and Pebbled Path was another combination. I also tried out Pecan Pie ink stamped off once and then add Pecan Pie ink with the Sponge Dauber. The smaller flower images are in Pool Party. 


I like to try out different combinations of colours and see how they turn out. I find if you start with one image and work your way through all of them and then die-cut the images out and place them onto your card to see how they will work together.


Some of the other elements to my card is the delicate die-cut pieces from the Textured Floral Dies I used the More Dazzle Specialty Paper in Champagne for some glimmer. Along with inked up Basic White Cardstock in Pretty Peacock by using the Blending Brush.

To finish off the card I added Black & White Gingham Ribbon, Sparkle Gems and heat embossed the sentiment. 


Birthday Blooms Soft Pastels Card

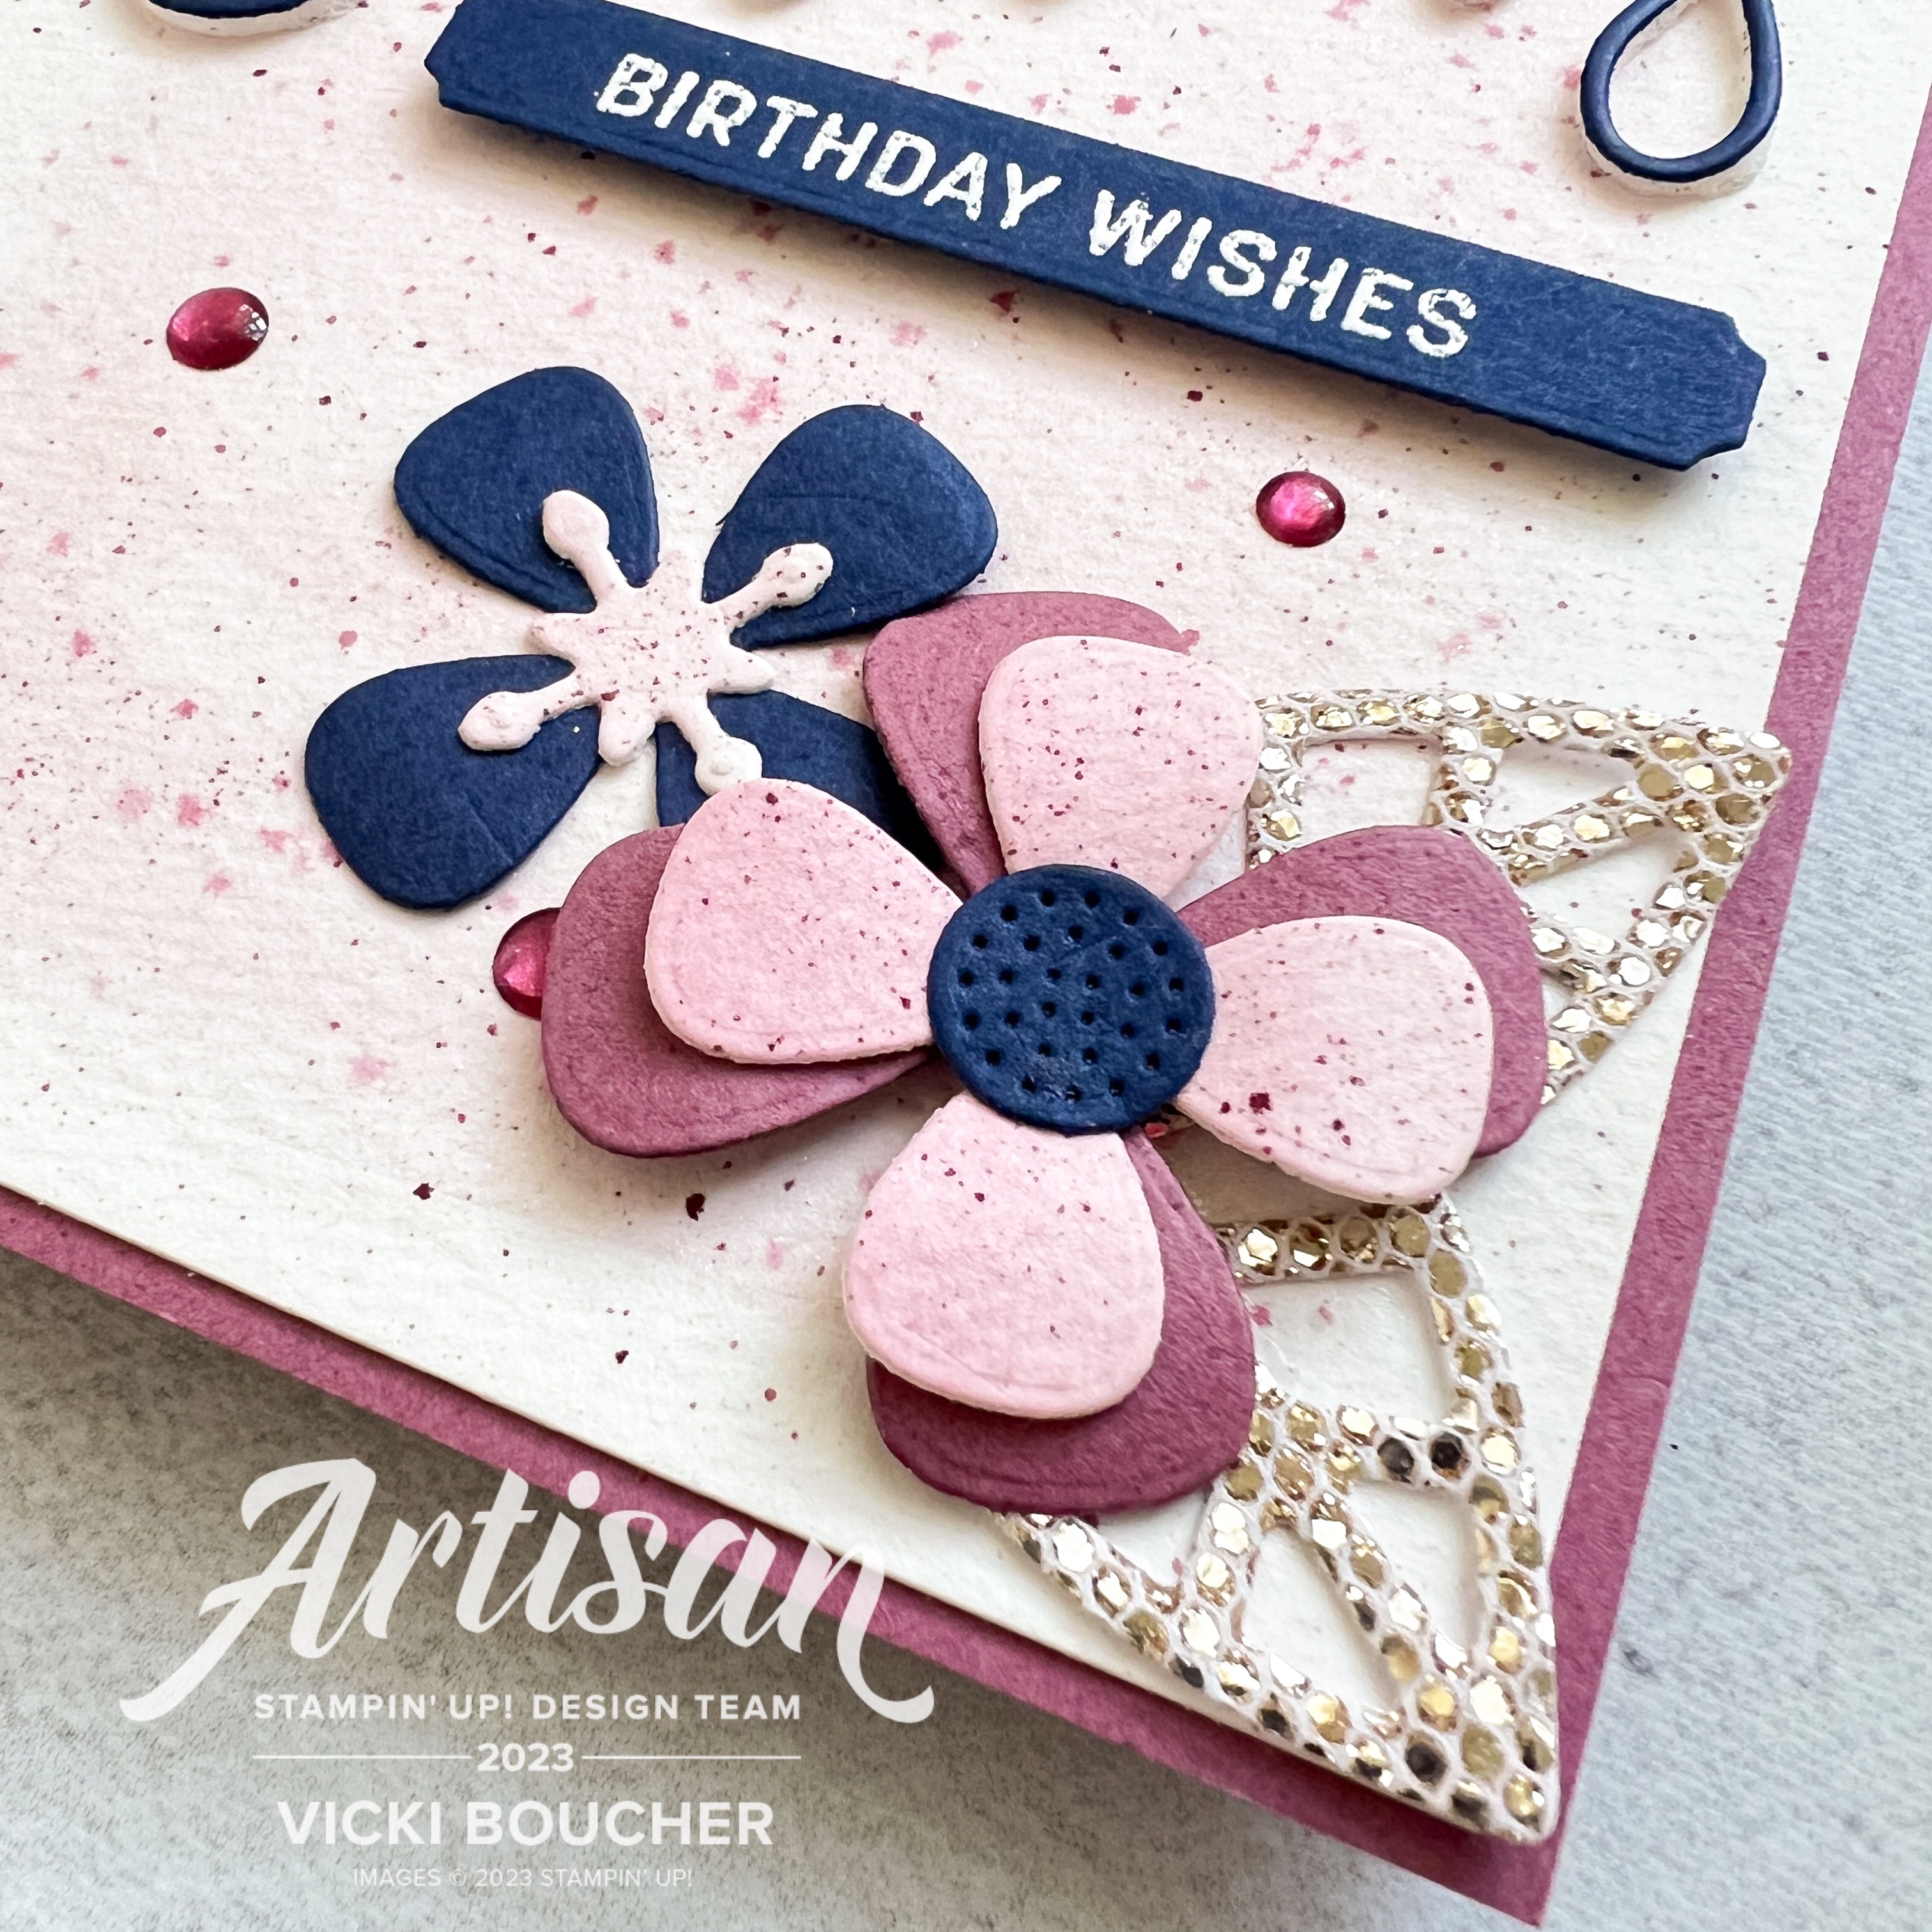
I just love the softness of these colours combined together and the shades of pinks gives a softer feminine look. To create my second card, I used the same technique with the stamped images as the first card. The following combination of colours are as follows: Bubble Bath and Moody Mauve for the smaller flowers. Bubble Bath for the main focal flower stamped off and then sponged with Bubble Bath ink. I also added Bubble Bath ink with the Blending Brush to the main flower.


Other colour combinations are Pool Party and Lost Lagoon for the stamped images of the leaves and also some leaves using Pretty Peacock on it's own. Gray Granite and Pebbled Path inks for the other flowers.


The background panel is Basic White Cardstock with lots of different stamped images in the above mentioned colours and technique. I also added ink to the cardstock using Blending Brushes such as Bubble Bath ink where the stamped flower images are on the background. 


I've left some white space on the background panel for the sentiment stamped in Pretty Peacock and the card base is in Pretty Peacock. To finish off the card I added a Linen Thread bow and Iridescent Rhinestone Basic Jewels.

Thank you for visiting my blog today, I would so love to hear your thoughts on my project by leaving a comment below.


Make sure you pop over onto Stampin' Up! Facebook page or Stampin' Up! Instagram page for lots of inspiration using the Textured Floral Bundle. You will just need to go back to the last weekend of July 2023 to view our projects.

Please email me if you would like a copy of the 2023-2024 Stampin' Up! Annual Catalogue send an email to me here. 

If you live in Australia and don't have a demonstrator, you can purchase any of the Stampin' Up! products by shopping with me at my Stampin' Up! online store here.

Make sure you follow me on social media via Facebook, Instagram and Pinterest.

Happy Crafting

Vicki Boucher


17 May 2023

Moody Mauve 2023 - 24 AWH Colour Creations


 Hello and welcome,

My name is Vicki Boucher and I'm from Melbourne, Australia. Today, I'll be sharing with you the third of many blog hops. It's Week 3 of Colour Creations with the Art With Heart Team in Australia.


The third colour is Moody Mauve which is part of the In Color Collection for 2023 - 2025 and Stampin' Up! have created a beautiful dusky pink and I've combined it with a favourite colour palette of mine. 


Paper Florist Dies (161284)


I just had to try out another new Stampin' Up! product from the Annual 2023 - 2024 Catalogue and I'll be showing you the Paper Florist Dies (161284) which is focused on page 33 of the catalogue. I just love the idea of creating paper flowers and with a little bling.


Moody Mauve is a dark pink, but I do like to wash it out for the flower petals by making a watercolor wash onto a piece of Fluid 100 Watercolor Paper. Once dry I then die-cut the flowers using the Paper Florist Dies. I also used Moody Mauve, Night of Navy Cardstock and More Dazzle 6" x 6" Specialty Paper in Champagne. 


The background panel watercolor wash is Bubble Bath ink, water and Clear Wink of Stella. I like to mix the three together in the well of the Stampin' Pad and then add the glitter ink to the watercolor paper using Water Painter the large flat brush gives you a quicker application. 


Once dry I then add Moody Mauve ink, I splatter the ink using one of the Water Painters and sometimes I add water to the ink for a lighter colour.


I used Night of Navy Cardstock and heat embossed using VersaMark, White Stampin' Emboss Powder and Sending Smiles Stamp Set, then die-cut the images using the coordinating Dies to create the sentiment. For some more bling I used Moody Mauve 2023-25 In Color Dots. 


Thank you for visiting my blog today, I would so love to hear your thoughts on my projects by leaving a comment below.

Now for the next blog please visit the very talented Rachel Woollard on the link below.


If the next button link is not working or you'd like to see the entire list of participants go to Catherine Proctor's blog.


Please email me if you would like a copy of the new 2023-2024 Annual Catalogue, please contact me here. 


If you live in Australia and don't have a demonstrator, you can purchase any of the Stampin' Up! products by shopping with me at my online store here. 

Make sure you follow me on social media via Facebook, Instagram and Pinterest.


Happy Stamping

Vicki Boucher