Showing posts with label Water Colour. Show all posts

23 September 2024

Heart of Christmas Blog Hop - Week 8


Hello and welcome my friends,

My name is Vicki Boucher and I'm from Melbourne, Australia. Today, I'll be sharing with you a Christmas card I've made for the latest blog hop with the team from Art With Heart in Australia and we are now onto week 8.

The Heart of Christmas blog hop will be on Monday at 8pm each week until November 25th. I'm looking forward to seeing everyone's beautiful creations, so make sure you visit everyone's blog. The link for the next person will be at the end of my blog.


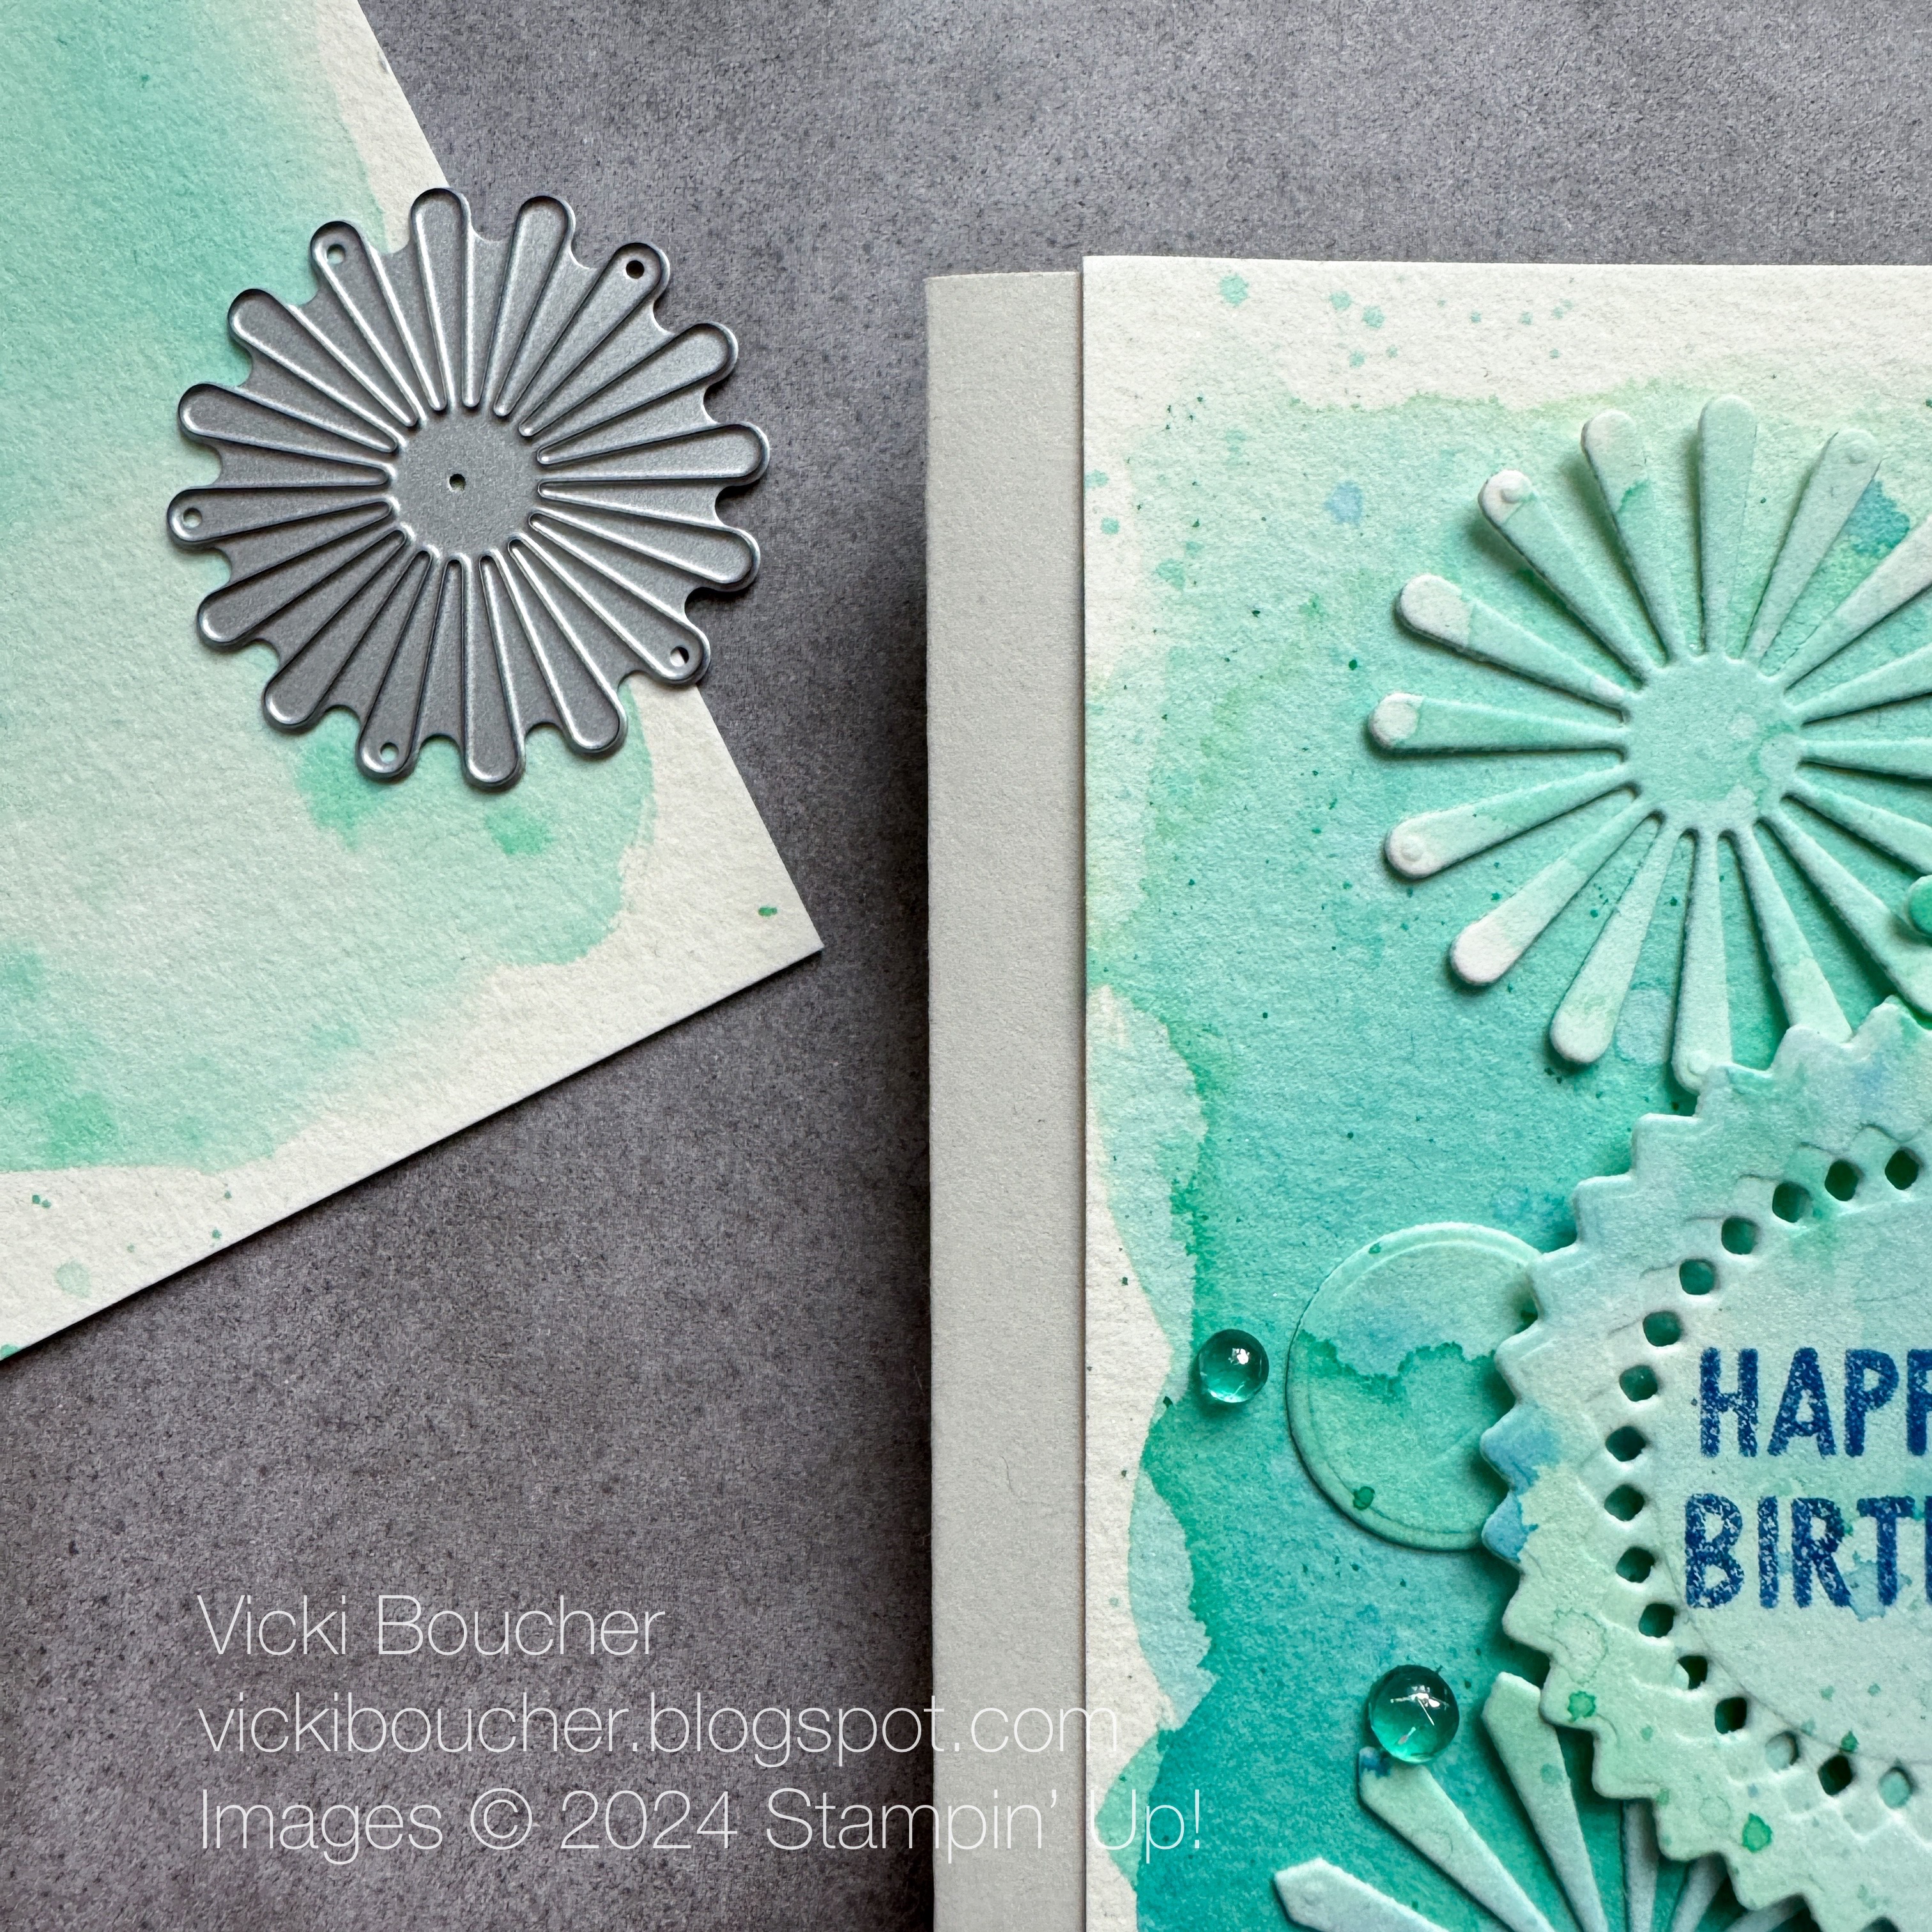
Here's my card for tonight's blog hop I used the Decorative Trees bundle (164085) which is located on page 42 of the Stampin' Up! Mini Catalogue. I created a whimsical Christmas card using soft tones from the three colours I used and made a magical watercolour wash background.


Starting with the three Christmas trees I heat embossed them using white Stampin' Emboss Powder and used the emboss resist technique. The colours I used for the trees are Summer Splash, Blueberry Bushel and Fresh Freesia all three colours are beautiful when used for a colour combination. I applied the inks using a Blending Brush for each of the colours and keeping it soft for a pretty look.


I used the same colours for the watercolour wash background using lots of water with the inks to dilute the colours when applied to the watercolour paper. Tip; I like to use the wide brush tip Water Painter and a bowl of water this gives me more control when adding water to the coloured inks. I use the Heat Tool to speed up the drying process and then add more colour to the watercolour paper. 

Afterwards I added lots of splattered ink to the background using the same Water Painter. I also mixed together white Kraft ink diluted with a little water in a bowl. Then tap the brush against a pair of scissors or a pencil to achieve the splattered look. Make sure it's dry before adding your next layer (I found out the hard way that kraft ink takes a lot longer to dry out on watercolour paper than normal cardstock).


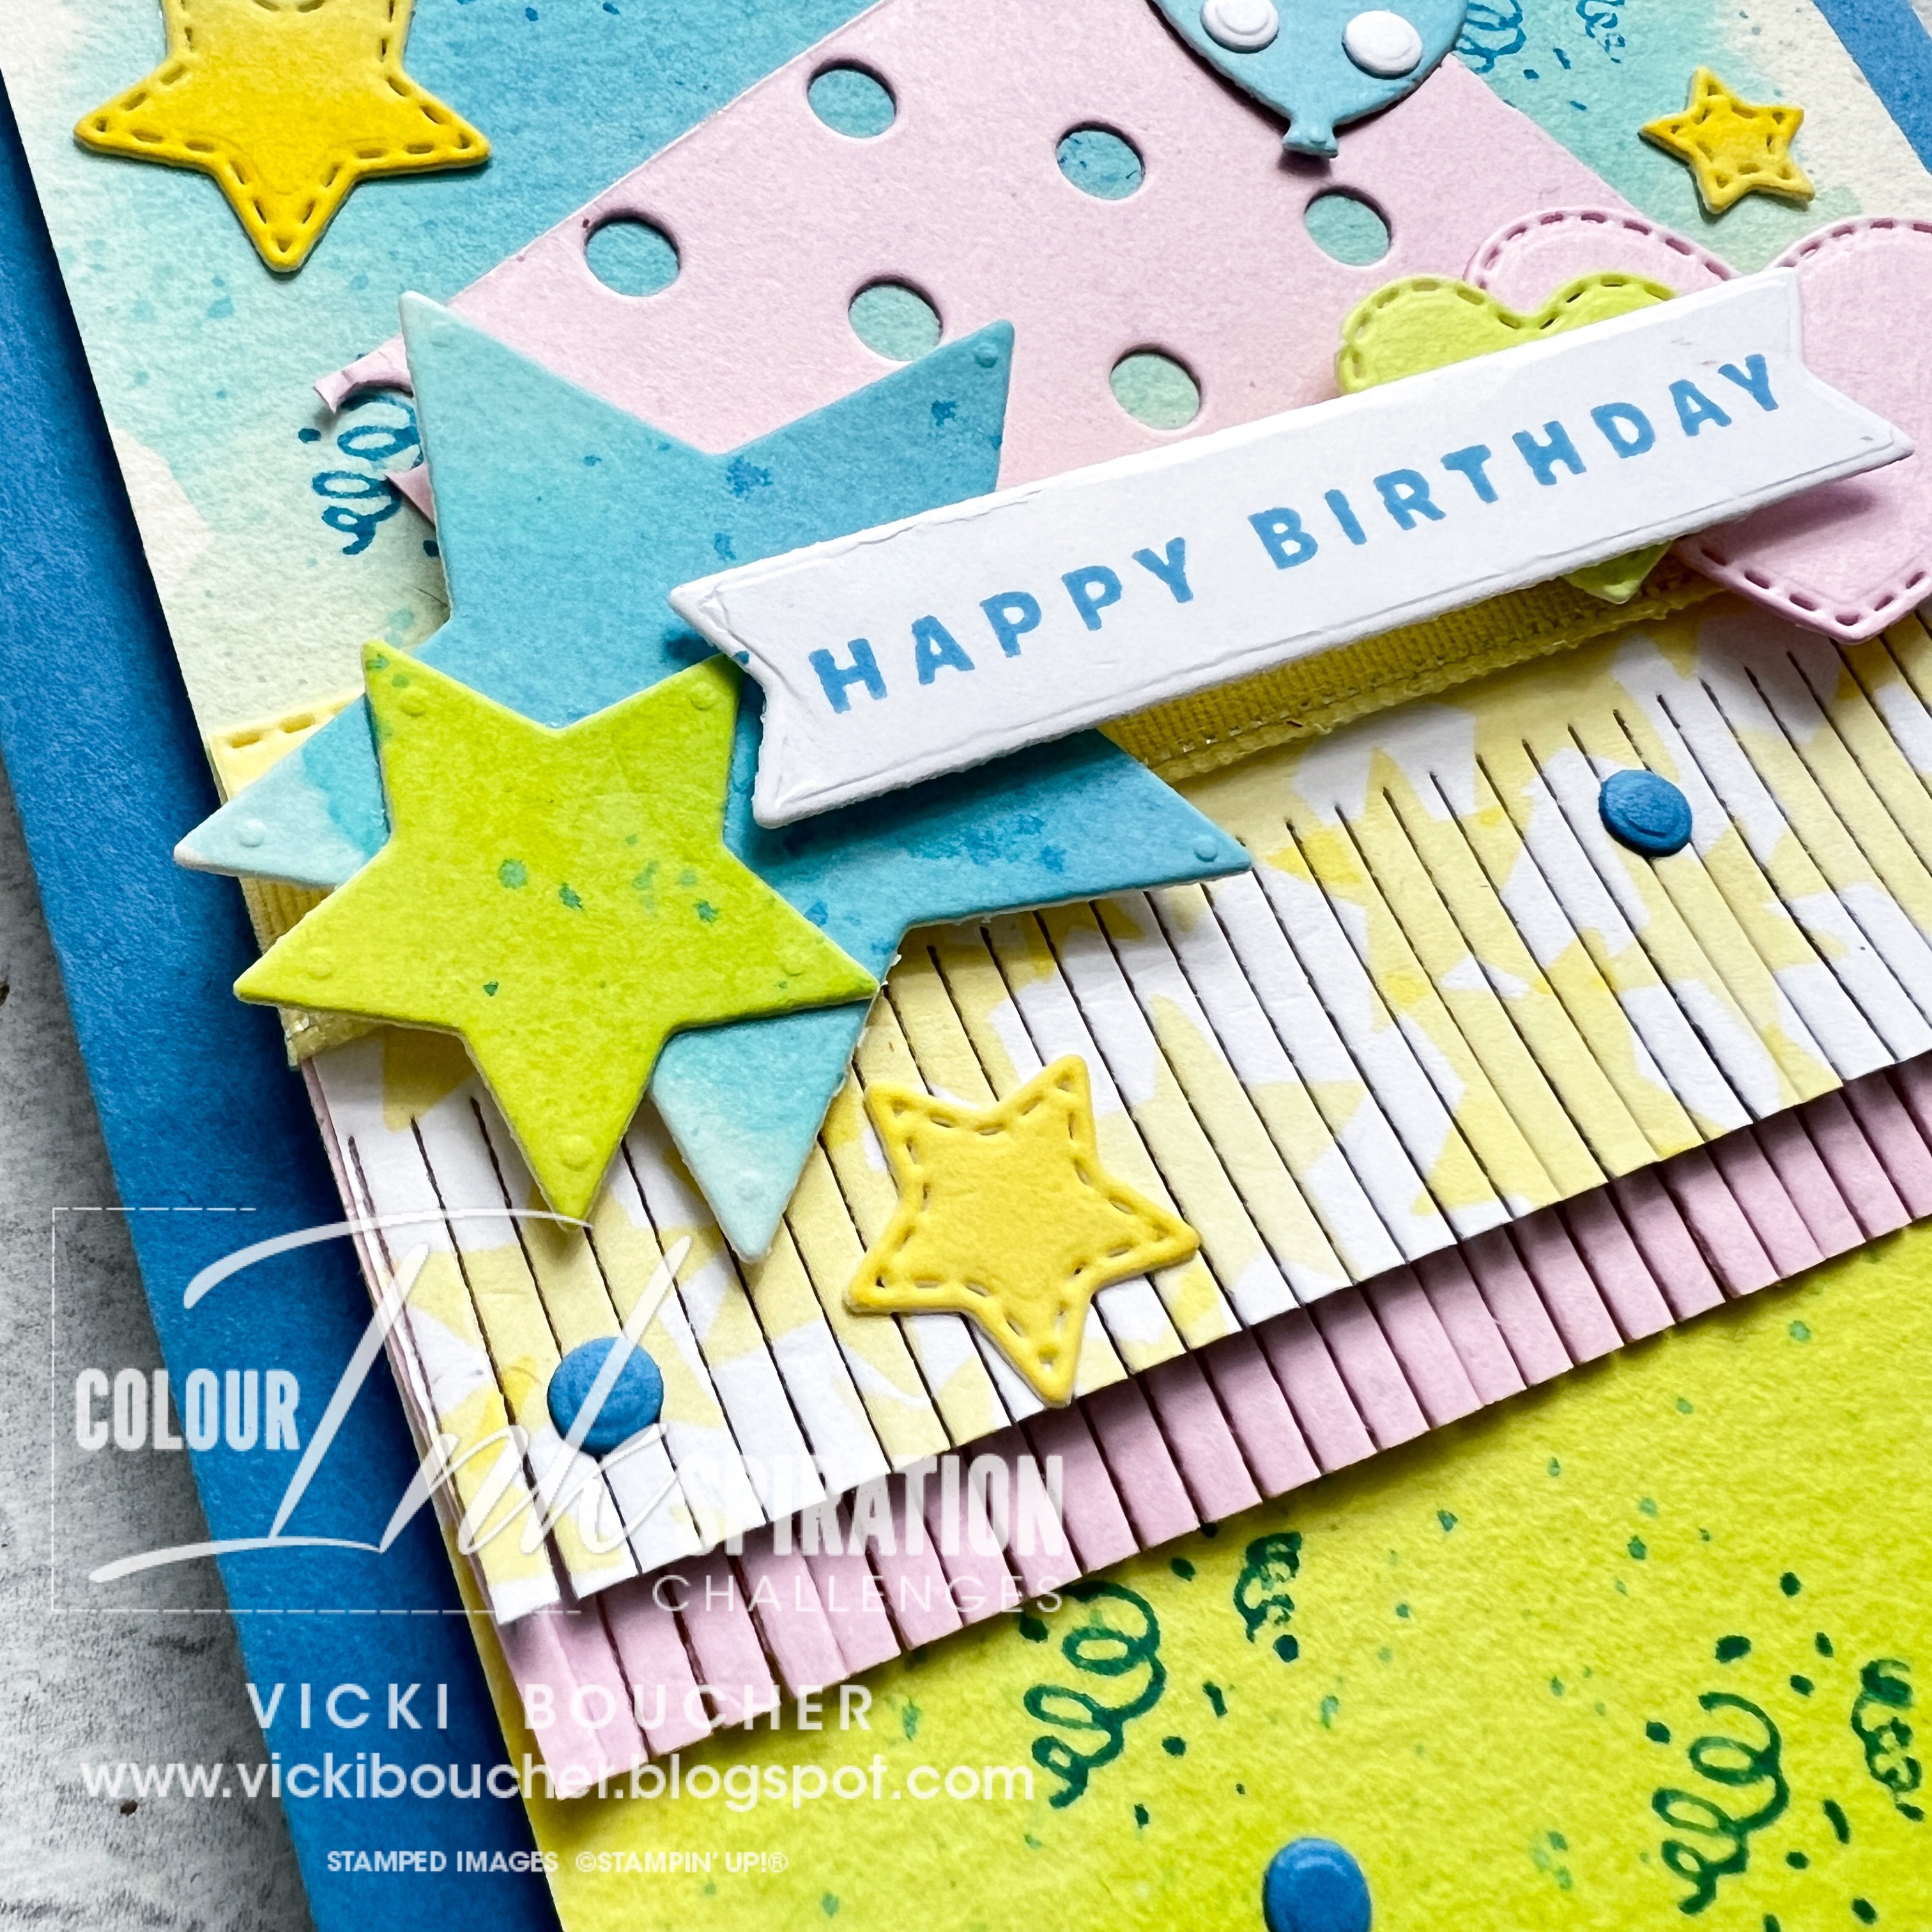
As you can see, I used the Iridescent Striped Ribbon it is so pretty and it complements the three colours so well together. Using the ribbon, I made a faux bow to be placed under the trees. I placed Stampin' Dimensionals under the trees for some added dimension. 

The sentiment is from the Decorative Trees stamp set and is stamped in Fresh Freesia ink onto Basic White cardstock. The stitched label die from the Cheerful Daisies dies fits the greeting perfectly and finishes the card off nicely. I used white Iridescent adhesive-backed discs for a little sparkle! They blend in well with the other colours used.


Thank you for visiting my blog today, I would so love to hear your thoughts on my project by leaving a comment below.


Now it's time to visit Judy May's blog, I can't wait to see her beautiful Christmas project.


If the link is broken Sharon is our host for the Heart of Christmas blog hop with all of the list of the participants, click on Sharon Davern's name to see the list.


Please email me if you would like a copy of the 2024-2025 Stampin' Up! Annual Catalogue or Mini 2024 Catalogue send an email to me here


Stampin' Up! 2024 Mini Catalogue


If you live in Australia and don't have a demonstrator, you can purchase any of the Stampin' Up! products by shopping with me at my Stampin' Up! online store here.

Make sure you follow me on social media via Facebook, Instagram and Pinterest.


Happy Stamping

Vicki Boucher


28 August 2024

Colour Creations Blog Hop - Coastal Cabana


Hello and welcome my friends,

My name is Vicki Boucher and I'm from Melbourne, Australia. Today, I'll be sharing with you another colour for Colour Creations blog hop and we are now at week 18 with the Art With Heart Team in Australia. 

The next colour is Coastal Cabana, which is part of the Brights Collection and I've made two Father's Day cards using this colour. Coastal Cabana comes in Cardstock, Classic Ink Pad, Ink Refill, Embellishments, Designer Series Paper and other Stampin' Up! products.


I made two cards for Father's Day which just happens to be this coming Sunday in Australia, one of them for my father and the other I made for the kids to give to their dad. Today's cards are simple and quick. I've used the Online Exclusive Changing Leaves Stamp Set and besides Coastal Cabana I also added Summer Splash for my colours.


First Card

For my first card I used Basic White Cardstock, stamped the larger leaf image from the stamp set using Coastal Cabana and randomly stamping the leaves a number of times. Then I created an ombre effect with the two colours and used the Blending Brush to add the ink onto the panel.


I used the Alphabet A La Mode Dies for the ombre DAD and used Foam Adhesive Sheets for some height. To finish off the card I used the Beside Me Stamp Set for the greeting and stamped directly onto the white panel. The card base is Basic White Cardstock.


Second Card

For my second card I created a water colour wash using Fluid 100 Watercolour paper, heat embossed the same large leaves image again, but this time only stamped the image twice and then adding White Embossing Powder. Then heat set with the Heat Tool.


Once I let the embossing cool down, I then added water with the large flat tip paint brush, next I used Coastal Cabana and Summer Splash ink for a soft look. I used an old Coastal Cabana Marker pen and splattered ink over the leaves. 

I used the same sentiment from the Beside Me Stamp Set for the greeting and die-cut it out using one of the labels dies from the Unbounded Love Dies. The card base is Coastal Cabana Cardstock.


Thank you for visiting my blog today, I would so love to hear your thoughts on my project by leaving a comment below.


Now for the next blog please visit the very talented Theresa Gerrard click on the link below.


If the next button link is not working or you'd like to see the entire list of participants go to Catherine Proctor's blog.


Please email me if you would like a copy of the 2024-2025 Stampin' Up! Annual Catalogue send an email to me here

If you live in Australia and don't have a demonstrator, you can purchase any of the Stampin' Up! products by shopping with me at my Stampin' Up! online store here.

Make sure you follow me on social media via Facebook, Instagram and Pinterest.


Happy Stamping

Vicki Boucher


21 July 2024

Stamping Sunday Blog Hop - Kaleidoscopic Depths


Hello and welcome,

My name is Vicki Boucher and I'm from Melbourne, Australia. Today is Stamping Sunday blog hop for the month of July and for this month's theme is "Kaleidoscopic Depths" colours from under the sea for our projects. It's the 3rd Sunday of the month. I'm looking forward to seeing everyone's projects and you'll be able to see them by clicking on their names at the end of my blog.


The colours I've chosen are turquois a mixture of blues and greens for my card and here's my inspiration photo I found it on Pinterest, see below. I do love the colours of the sea. I used a range of Stampin' Up! Colors starting with Pool Party, Coastal Cabana, Summer Splash, Shy Shamrock, Azure Afternoon, Blueberry Bushel and Night of Navy.


I started playing around with the colours for a water colour wash and a under the sea background. I used Fluid Flow Watercolour Paper, a wide tip brush Water Painter and all of the above mentioned coloured inks. I started with the lightest colour at the top and then moved my way down to the darkest colour. I used the Heat Tool to dry the inks on the watercolour paper and then I would apply more ink to achieve a deeper colour. Next, I added splatters of ink by tapping the brush against the Bone Folder.


I used the Round We Go Bundle which is in the Stampin' Up! Annual Catalogue and is located on page 63. I love the pinwheels from the Round We Go Dies they are so much to use and to create different elements for your projects. I made another water colour wash using the same technique as before for the pinwheels and smaller circles.


The sentiment is stamped in Blueberry Bushel onto a part of the watercolour wash and then I used the Round We Go Dies to die-cut the sentiment. Then I layered the different elements onto the card and added Tinsel Gems in Blueberry Bushel and Lost Lagoon. 


Thank you for visiting my blog today, I would so love to hear your thoughts on my project by leaving a comment below.


Please email me if you would like a copy of the 2024-2025 Stampin' Up! Annual Catalogue send an email to me here


If you live in Australia and don't have a demonstrator, you can purchase any of the Stampin' Up! products by shopping with me at my Stampin' Up! online store here.

Make sure you follow me on social media via Facebook, Instagram and Pinterest.


Happy Stamping

Vicki Boucher


To see all of the amazing projects by the Stamping Sunday Design Team please click on their names below. 


10 January 2024

Colour INKspiration Challenge #CI158


 Hello and welcome, 

My name is Vicki Boucher, and I am from Melbourne, Australia. Tonight, is the latest Colour INKspiration Challenge #CI158 this photo was chosen by Colour INKspiration Crew Member, Lou Kitzelman. This is our first challenge of the year!


The chosen colour combination for #CI158 is Petal Pink, Fresh Freesia, Pool Party and Blueberry Bushel. As well as the chosen colours you may also like to add Basic White, Very Vanilla, Crumb Cake, Basic Black and metallics to your project. We also allow 'Ivory', 'Bronze' and 'Natural Tones' in the Stampin' Blends. If you don't have all the colour palette, feel free to use the closest SU substitute (ie: Starry Sky instead of Blueberry Bushel.... for example).

The challenge will run for almost 5 weeks until 7pm (AEST) on Monday 12th February 2024 details to follow at the end of my blog.

It's great to be back and start creating again for Colour INKspiration Challenges they are always fun to do and try out different colour combinations. This colour palette is so beautiful! There is plenty of time to join in this challenge with almost 5 weeks to enter the challenge.


I've used the Notes of Nature bundle (162640) which is in the new Stampin' Up! Mini Catalogue for January to April 2024. This bundle was on my wish list when I saw the catalogue and it is part of the Nature's Sweetness Suite Collection (162645). I love it all and I can't wait to start using the rest of the collection.


I created a water colour wash for the background using Pool Party, Blueberry Bushel ink and I applied the ink with the wide brush tip to the Fluid 100 Watercolor Paper. 

I used the main leaf die from the Notes of Nature Dies, die-cut out in Basic White Cardstock and applied the challenge colours using the Blending Brush. 


The other die I used is the journal die by cutting a thin strip of Basic White Cardstock then die-cut it out and then I added Blueberry Bushel ink with the Blending Brush. I added the Gold Faux Leather Trim and tied a knot to one of the ends.

To finish off my card I added Fresh Freesia Dots (162758) and for the sentiment I heat embossed it using Crumb Cake Cardstock and Basic White Powder. 


I hope I've inspired you with the latest challenge and I do hope you'll join in. We so look forward to seeing a variety of projects using the challenge colours. Please ensure that your project is new and made specifically for this challenge.

Upload only one picture per entry straight to the discussion wall and not in an album

Colour INKspiration Challenge #CI158 will run until 7pm (ADET) on Monday 12th February 2024.

To get your creative ideas flowing, make sure you check out the Crew's Project in the CI158 Album.

Please click on the link here to join the challenge.


Thank you for visiting my blog today, I would so love to hear your thoughts on my project by leaving a comment below.

Please email me if you would like a copy of the 2023-2024 Stampin' Up! Annual or Mini Catalogue send an email to me here

If you live in Australia and don't have a demonstrator, you can purchase any of the Stampin' Up! products by shopping with me at my Stampin' Up! online store here.

Make sure you follow me on social media via Facebook, Instagram and Pinterest.


Happy Stamping

Vicki Boucher


07 October 2023

Artisan Design Team - Creative Project - Merriest Trees Bundle


Hello! My name is Vicki Boucher, and I am from Melbourne, Australia. Today I'm sharing two Christmas slimline card ideas using the lovely and versatile Merriest Trees Bundle and other Stampin' Up! products.

When it comes to creating my projects, I love to show a variety of different techniques and add lots of layers. Playing with different colour palettes is always fun! Slimline cards can add another dimension to your paper craft when using Stampin' Up! products.


Here are two magical Christmas cards made using non-traditional colours. I love to create and mix colours together using different tools. I'll add the product details at the end of my blog. 


Spirit of the Season Slimline Christmas Card

For my first card I wanted to create a whimsical watercolour Christmas trees using Fluid 100 Watercolor Paper and have fun mixing inks together.


Create unique watercolour trees by mixing ink with water, then apply sections of colour to Watercolor Paper using a large, flat, brush tip Water Painter. The colors I used are Boho Blue, Orchid Oasis and Blueberry Bushel. Move the ink around on the paper with the Heat Tool until dry. Use the Merriest Trees Dies to die cut several different tree sizes. 


To add interest to the trees, use a Sponge Dauber and apply VersaMark Ink to the edges of the branches. Then, add white Stampin' Emboss Powder, brush off the excess with a brush, and heat set using the Heat Tool. I like to use the Stampin' Up! tweezers to hold onto smaller pieces of images, so I don't heat my fingers with the Heat Tool.

To decorate the trees, I used Soft Shimmer Paper in Bubble Bath, placed Adhesive Sheet to the back of the paper and then die-cut out the tree decorations and stars. 

To add layers to the card, create background snow by tearing up two layers using Basic White Cardstock and add Boho Blue and Orchid Oasis ink using the Blending Brush.


Stamp the stars a number of times to the background panel using VersaMark Ink, add white Stampin' Emboss Powder and heat set with the Heat Tool. Then apply lightly using Boho Blue and Orchid Oasis Ink with the Blending Brush to the background panel. 


Merry Christmas Slimline Card

For my second card I went for a nighttime scene using darker cardstock and inks. This created a totally different look to my first card. 


Create two snow layers for the background by tearing up Basic White Cardstock with your fingers. Next, using a Blending Brush to create contrast and leaving some white space between each of the layers. This helps create a snow effect for your layers. The colours used are Orchid Oasis and Starry Sky inks.


Apply colour to the trees using a Sponge Dauber for smaller sections and Blending Brushes for larger areas. I used Orchid Oasis and Starry Sky inks. Leave some white space to create snow for each of the layers. Then, add water droplets to the trees by tapping the medium tip Water Painter against Paper Snips and set them with the Heat Tool.

To create the background trees, use Starry Sky ink and stamp two of the trees directly onto Orchid Oasis Cardstock slimline panel. The third tree stamp onto a scrap piece of Orchid Oasis Cardstock and then die-cut out using the second largest tree die from the Merriest Tree Dies. 


To finish off the card, heat embossed the sentiment using VersaMark Ink, onto Orchid Oasis Cardstock, add white Stampin' Emboss Powder tap off excess and heat set with Heat Tool. Die-cut out tree using second largest tree die.


Here are the products you will need:

Merriest Trees Bundle (162048)
Starry Sky Cardstock (159263)
Orchid Oasis Cardstock (159267)
Basic White Cardstock (159276)
Fluid 100 Watercolor Paper (149612)
Soft Shimmer Specialty Paper (161750)
Starry Sky Classic Stampin' Pad (159212)
Orchid Oasis Classic Stampin' Pad (159214)
Boho Blue Classic Stampin' Pad (161650)
Blueberry Bushel Classic Stampin' Pad (147138)
Iridescent Adhesive-Backed Discs (161954)
Basics Stampin' Emboss Powders (155554)
Heat Tool (129053)
Embossing Additions Tool Kit (159971)
VersaMark Pad (102283)
Blending Brushes (153611)
Small Blending Brushes (160518)
Water Painters (151298)
Sponge Daubers (133773)
Wink of Stella Glitter Brush (141897)
Adhesive Sheets (152334)
Mini Stampin' Dimensionals (144108)
Multipurpose Glue (110755)
Paper Snips Scissors (103579)


Thank you for visiting my blog today, I would so love to hear your thoughts on my project by leaving a comment below.

Please email me if you would like a copy of the 2023-2024 Stampin' Up! Annual or Mini Catalogue send an email to me here

If you live in Australia and don't have a demonstrator, you can purchase any of the Stampin' Up! products by shopping with me at my Stampin' Up! online store here.

Make sure you follow me on social media via Facebook, Instagram and Pinterest.


Happy Stamping

Vicki Boucher


27 September 2023

Colour INKspiration Challenge #CI152


Hello and welcome, 

My name is Vicki Boucher, and I am from Melbourne, Australia. Tonight, is the latest Colour INKspiration Challenge #CI152 this photo was chosen by Bronwyn Eastley. 


The chosen colour combination for #CI152 is Gray Granite, Starry Sky and Night of Navy. As well as the chosen colours you may also like to add Basic White, Basic Black, Very Vanilla, Crumb Cake and metallics to your project. We also allow 'Ivory', 'Bronze' and 'Natural Tones' in the Stampin' Blends. If you don't have all the colour palette, feel free to use the closest SU substitute (ie: Misty Moonlight instead of Starry Sky .... you get the drift).

The challenge will run for almost 2 weeks until 7pm (AEST) on Monday 9th October 2023 details to follow at the end of my blog.


Today's card is a Christmas card using the Forever Forest bundle and Christmas Classics stamp set which are in the Stampin' Up! Mini Catalogue Sep-Dec 2023.

I went for a simpler card using the challenge colours starting with the watercolour background, I used Fluid 100 Watercolor Paper and applied ink with the wide tip brush Water Painter. Once dry I stamped the sentiment, moon and stars images using VersaMark Ink, added White Stampin' Emboss Powder and heat embossed the images with the Heat Tool.


The tree images are die-cut out using the Forever Forest Dies in Basic White Cardstock, then I applied Night of Navy and Starry Sky ink with the Blending Brush leaving some white space at the top.


To finish off the card I added Linen Thread to the card and added Gray Granite Cardstock over Basic White card front.


I hope I've inspired you with the latest challenge and I do hope you'll join in. We so look forward to seeing a variety of projects using the challenge colours. Please ensure that your project is new and made specifically for this challenge.


Upload only one picture per entry straight to the discussion wall and not in an album

Colour INKspiration Challenge #CI152 will run until 7pm (ADET) on Monday 9th October 2023.

To get your creative ideas flowing, make sure you check out the Crew's Project in the CI152 Album.

Please click on the link here to join the challenge.


Thank you for visiting my blog today, I would so love to hear your thoughts on my project by leaving a comment below.

Please email me if you would like a copy of the 2023-2024 Stampin' Up! Annual or Mini Catalogue send an email to me here

If you live in Australia and don't have a demonstrator, you can purchase any of the Stampin' Up! products by shopping with me at my Stampin' Up! online store here.

Make sure you follow me on social media via Facebook, Instagram and Pinterest.


Happy Stamping

Vicki Boucher

13 July 2023

#TGIFC428 Color Challenge Textured Floral


 Hello and welcome,

My name is Vicki Boucher and I'm from Melbourne, Australia. Today, I'll be sharing with you a card I've made for TGIF Challenge #TGIFC428 and the challenge is "Colour Challenge" Make sure you check out the design team and see their amazing projects. The colours are Sweet Sorbet, Lemon Lolly and Basic Black.


Here's my take on these gorgeous colours it certainly isn't something I would normally use when it comes to card making, but I'm always up for a challenge.


I've used the Textured Floral bundle and it's been my go-to the bundle is from the Stampin' Up! 2023-24 Annual Catalogue. The reason why is because I've been creating a display board for The Create, Share and Play demonstrator team event called "35 for 35" it's a global event to help celebrate the 35th Anniversary of Stampin' Up! It's on this weekend and we have a very special guest flying in from Utah, Sara Douglass our amazing Stampin' Up! CEO. I can't wait!!


Now for my card I created a water colour wash using Fluid 100 Watercolor Paper and a Water Painter I used the large flat brush tip. I started with Lemon Lolly ink and then Sweet Sorbet. I like to add lots of water and play around with the two inks. I also use the Heat Tool to push the ink around on the paper.


To create the three larger flowers, I stamped them in Sweet Sorbet ink and then stamped off twice onto the grid paper. Then using the Stampin' Spritzer spritz water onto the stamp and then stamp onto Basic White Cardstock. I also did this with the smaller Lemon Lolly flowers. Then die-cut out the flowers.


The elements of Basic Black are flower centers and foliage die-cuts from the Textured Floral Dies in Basic Black Cardstock. The sentiment is heat embossed using White Stampin' Powder with Basic Black Cardstock. Basic Black Cardstock for the card base and my go to favourite ribbon is the Black & White Gingham Ribbon. Oh, and I added a few of the Lemon Lolly Solid Gems to finish off the card. 


Thank you for visiting my blog today, I would so love to hear your thoughts on my project by leaving a comment below.


Please email me if you would like a copy of the 2023-2024 Stampin' Up! Annual Catalogue send an email to me here

If you live in Australia and don't have a demonstrator, you can purchase any of the Stampin' Up! products by shopping with me at my Stampin' Up! online store here.

Make sure you follow me on social media via Facebook, Instagram and Pinterest.


Happy Stamping

Vicki Boucher

24 May 2023

Colour INKspiration Challenge #CI144


 Hello and welcome, 

My name is Vicki Boucher, and I am from Melbourne, Australia. Tonight, is the latest Colour INKspiration Challenge #CI144 this photo was chosen by Monica Formosa.


The chosen colour combination for #CI144 is Bubble Bath, Crushed Curry, Lemon Lolly, Parakeet Party and Azure Afternoon. As well as the chosen colours you may also like to add Basic White, Very Vanilla, Basic Black, Crumb Cake and metallics to your project. We also allow 'Ivory', 'Bronze' and 'Natural Tones' in the Stampin' Blends. If you don't have all the colour palette, feel free to use the closest SU substitute (ie: Tahitian Tide instead of Azure Afternoon .... you get the drift).

The challenge will run for almost 3 weeks until 7pm (AEST) on Monday 12th June 2023 details to follow at the end of my blog.


These colours were a challenge for me! I really like them all. The photo of the ice cream makes me want to have one! I created a fun birthday card with a watercolour background using watercolour paper and Bright & Beautiful 6 x 6 Designer Series Paper (161449).

Other Stampin' Up! products used are Beautiful Balloons bundle (161457), Give it a Whirl Dies (154336), Dots & Spots Dies (159164) and Something Fancy Stamp Set (160416).


I just love the fun paper garland die from the Beautiful Balloons Dies the bottom layer is Bubble Bath Cardstock and the top layer is the Bright & Beautiful DSP using the cute Lemon Lolly stars paper. I added Lemon Lolly Sheer Ribbon under watercolour die-cut pieces from the Beautiful Balloons Dies and Give it a Whirl Dies. 


Other elements I have used are the Dots & Spots Die as I had left over pieces from other projects I added white dots to the balloon, Azure Afternoon dots to the background and Bubble Bath Cardstock for the background. 

The sentiment is stamped in Azure Afternoon using Something Fancy Stamp Set and die-cut out using the label die from Give it a Whirl Dies.


I hope I've inspired you with the latest challenge and I do hope you'll join in. We so look forward to seeing a variety of projects using the challenge colours. Please ensure that your project is new and made specifically for this challenge.


Upload only one picture per entry straight to the discussion wall and not in an album

Colour INKspiration Challenge #CI144 will run until 7pm (ADET) on Monday 12th June 2023.

To get your creative ideas flowing, make sure you check out the Crew's Project in the CI144 Album.

Please click on the link here to join the challenge.


Thank you for visiting my blog today, I would so love to hear your thoughts on my project by leaving a comment below.

Please email me if you would like a copy of the 2023-2024 Stampin' Up! Annual Catalogue send an email to me here

If you live in Australia and don't have a demonstrator, you can purchase any of the Stampin' Up! products by shopping with me at my Stampin' Up! online store here.

Make sure you follow me on social media via Facebook, Instagram and Pinterest.


Happy Stamping

Vicki Boucher