Showing posts with label playful alphabet dies. Show all posts

04 March 2022

Artisan Design Team - Flowering Rain Boots Bundle


 Hello and welcome, Today I'll be sharing with you my latest project for Stampin' Up! as part of the Artisan Design Team we were asked to create cards using the Flowering Rain Boots Bundle. This bundle includes the Flowering Rain Boots Stamp Set and Rain Boots Dies creating with this set is sure to brighten up anyone's day.


I love the stamped images it gives you a water colour look without water colouring and you can either add more colour with many colouring tools or leave the white space on your stamped images. I also loved the idea of placing the flowers at the top of the boots as another option.


Flowering Rain Boots Bundle


Purple Rain Boots Card

Starting with the purple rain boots ombre card, for the background panel I've used Blending Brushes with Gorgeous Grape and Highland Heather Ink to create the ombre look which In applied to Highland Heather Cardstock. The boots are stamped in Fresh Freesia, the flowers are in So Saffron and Mango Melody Ink. 


To colour in your stamped images, use the mini spatula end of your Take Your Pick Tool and scrape a little of the Soft pastel onto a Clear Block. Colour in the image with a Sponge Dauber. Here I've used Granny Apple Green Soft Pastel with Old Olive Ink for the stamp image.


I've used the Circle Dies in Basic White Cardstock and Gold Foil to add some dimension to the card. I also used the gardening tool die and die-cut in Gold Foil. The lattice die is die-cut out in Basic White Cardstock and I added Balmy Blue Ink with the Blending Brush. 

The sentiment is stamped in Gorgeous Grape Ink and I used my Paper Snips to break up the greeting. To finish off the card I placed a few of the Iridescent Rhinestones to the card.


Three pots slimline card

The slimline card is using the same colours as the previous card, but this time I've used the watering can stamped image in Smoky Slate and die-cut out using the coordinating watering can die.

For the background panel, I've created a mix of blues and mauves for the sky and Smoky Slate for the ground and shadows. I used Gold Foil using the lattice die and die-cut out a number of pieces to add interest to the background. 

The pots are stamped in Highland Heather, Gorgeous Grape and Fresh Freesia Ink. I used the tulips stamp and stamped them in Mango Melody, Gorgeous Grape and So Saffron Ink. 
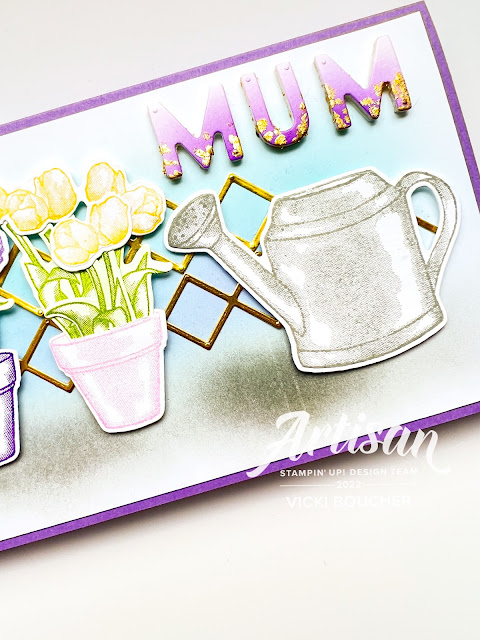


I wanted a card for my Mum for Mother's Day, so I used the Playful Alphabet Dies for the greeting. To create the ombre look I added Gorgeous Grape Ink with the Blending Brush to a strip of Basic White Cardstock. I start by applying ink lightly with the brush and then add more as I go. I just had to add a little of the Gold Gilded Leafing to the letters by adding tiny drops of Multipurpose Glue and wait for it to dry before adding the Gilded Leafing.


Thank you for visiting my blog today, I would so love hear your thoughts on my project by leaving a comment below. Make sure you pop over onto Stampin' Up! Facebook page for lots of inspiration using this bundle.

If you would like a copy of the new Stampin' Up! Mini January to June 2022 Catalogue and Annual Catalogue 2021 - 2022 please contact me here. 

If you live in Australia and don't have a demonstrator, you can purchase any of the Stampin' Up! products by shopping with me at my online store here.


Happy Stamping

Vicki Boucher


28 April 2021

Colour INKspiration Challenge #98


 Hello and welcome,

It's the latest Colour INKspiration challenge #CI98 and this stunning photo was chosen by Jan Clothier one of the Design Crew Members. This colour combo is so pretty, I just love the different shades of pinks and greens together.


The colour combination for #CI98 are Magenta Madness, Flirty Flamingo, Pear Pizza, Soft Sea Foam and Gray Granite. As well as the chosen colours you may also add Basic White, Basic Black, Very Vanilla, Crumb Cake, Sahara Sand and metallics to your project. We also allow 'Ivory' and 'Bronze' in the Stampin' Blends. If you don't have all the colour palette, feel free to use the closest SU substitute (ie: Smoky Slate instead of Gray Granite .... you get the drift). 

The challenge will run for almost 2 weeks until 7pm on the 10th May 2021 details to follow at the end of my blog.


For today's project I've created a slimline card using a variety of Dies including the Perennial Petals Dies and coordinating Pretty Perennials Stamp Set for the challenge colours. I'll also show you a few tips and tricks on how I made this card.


Starting with the card base in Gray Granite Cardstock cut at 21cm x 21cm and scored at 10.5cm. The card fits nicely inside a business size envelope. The next layer is the panel of Basic White Cardstock cut at 9.5cm x 20cm.

I've applied Soft Sea Foam Ink with the Blending Brush onto the white cardstock. Inking up the spray of circles stamp in the same colour and randomly stamped the image a number of times. 

The next step I always like to place the different pieces onto my card and play around to see how they will look. Once I'm happy, I'll take a photo and mark with a pencil where I'll be adhering the images to the card.


I've used the Playful Alphabet Dies for the Birthday greeting, to create the Ombre effect using a strip of Basic White Cardstock and apply Magenta Madness Ink with the Blending Brush. The letters are attached to the Foam Adhesive Sheets to give the letters more height.


To make sure the letters are straight I use the Grid Paper with a piece of scrap Cardstock, measured at 2cm from the bottom and apply Washi Tape helps to keep the paper intact. Using Take Your Pick Tool to place the letters onto the Cardstock, I find this a lot easier rather than using your fingers.


The two Ombre butterflies are in Magenta Madness and Flirty Flamingo. I applied ink onto Basic White Cardstock with the Blender Brush and die cut out using the Brilliant Wings Dies.


The flower images are in Magenta Madness, Flirty Flamingo and the Happy greeting is in Pear Pizzazz, then fussy cut out. Adding die cut images for the leaves are inked up Pear Pizzazz Ink onto Basic White Cardstock.


To finish off the card I've placed Magenta Madness Enamel Dots onto the card.


I hope you can participate in this latest round and as we so look forward to seeing a variety of projects using the challenge colours. Please ensure that your project is new and made specially for this challenge.

#CI98 will run until 7pm (ADET) on Monday 10th May 2021.

Please click on the link here to join the challenge.

Just a reminder to upload your challenge pics straight to the discussion wall and not in an album.

Thank you for visiting my blog today, I would so love hear your thoughts on my project by leaving a comment below.

You can purchase any of the Stampin' Up! products by shopping with me at my online store here.

Happy Stamping!

Vicki Boucher


04 April 2021

Creation Station April Blog Hop - Sweet Treat Packages


Hello and welcome,

Today's projects for April 2021 Creation Station blog hop is all about "Sweet Treat Packages" using Stampin' Up! products. There are a number of different stamp sets in both the Mini and Annual Stampin' Up! Catalogues to create into cute packages. I'm so looking forward to seeing all the other design Team Members projects so make sure you click on the link at the bottom of my blog. 


For my project I've used the Mini Pizza Boxes which sadly they are retiring from the Annual Catalogue you have until the end of May 2021 unless sold out. I have created three packages for my blog today. Once I started on one, I just had to create two more! 


I just love the Sweet Ice Cream Bundle on page 49 of the Jan to June Mini Catalogue. The stamp set comes with the Ice Cream Cone Builder Punch and creates yummy projects! I think I'm going to need ice cream after I've finished writing this blog. The weather this weekend in Melbourne is perfect for ice cream.

Each box has a strip of DSP wrapped around each of the boxes, I've cut at 3 1/2" x 10 1/2" and scored at 1 1/2", 2 1/2", 6" and 7"


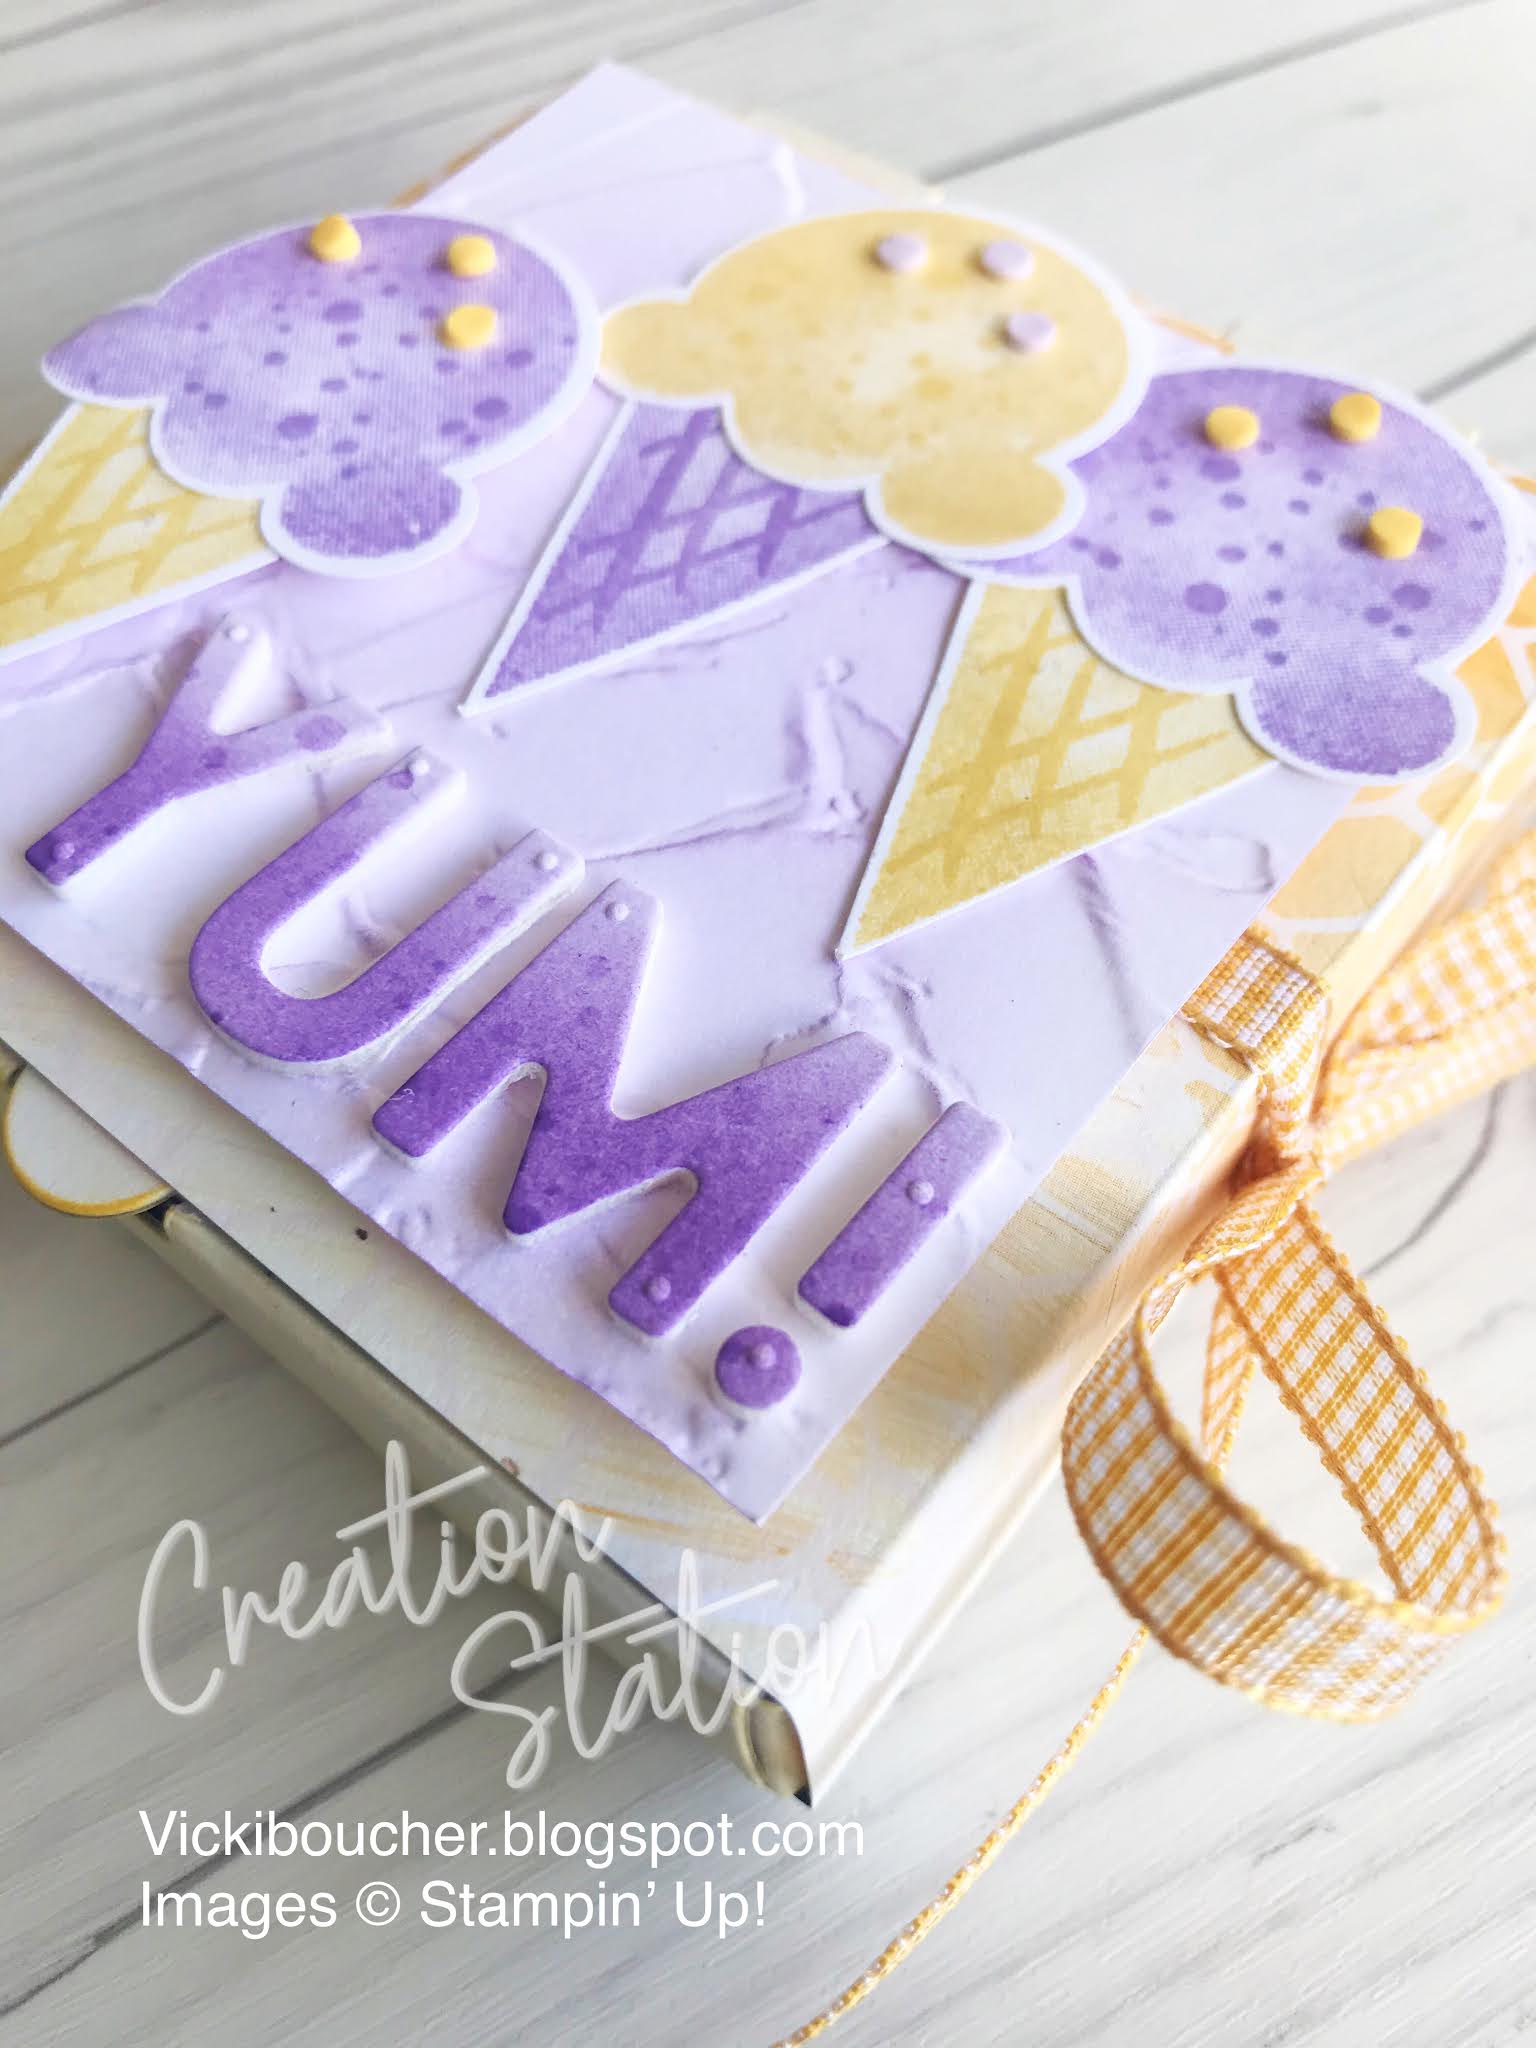
YUM! 3D Mini Pizza Box


DSP - Fine Art Floral Designer Series Paper I've used the sheet in Bumblebee which goes well with So Saffron and Highland Heather Ink. I'm loving this combination it's so pretty! Using the Painted Texture 3D Embossing Folder I've embossed a piece of Basic White Cardstock cut at 3 1/4" x 3 1/4" and lightly added Highland Heather Ink. It reminds me of layers of ice cream. 


The Mini Pizza Box is coloured in lightly with So Saffron Ink with the Blending Brush.


The Playful Alphabet Dies can create any worlds for your projects so I've created YUM! in a Ombre look with Highland Heather Ink. The Bumblebee Gingham Ribbon ties nicely in a bow around the box. You need sprinkles on your ice cream, so I added the Ice Cream Corner Sprinkles in Daffodil Delight and Purple Posy.


Happy Birthday 3D Mini Pizza Box


DSP - Ice Cream Corner Designer Series Paper I've used the sheet in Cinnamon Cider with the waffle cone print. Cinnamon Cider and Magenta Madness goes well together using ink, paper and ribbon.


I've coloured the box in Cinnamon Cider Ink with the Blending Brush and also on the Basic White Cardstock which is die cut out using the stitched swirl die from the Painted Labels. Using the spotty stamp I've stamped randomly in Cinnamon Cider onto the stitched circle.


Wrapping around the box with Magenta Madness Twill Ribbon and tied in a bow. Adding a few of the Magenta Madness Enamel Dots to finish of this project.


SWEET 3D Mini Pizza Box


DSP - Sand & Sea Designer Series Paper I've used the swirl sheet in So Saffron and Melon Mambo when I see this DSP it reminds me of swirls of ice cream. The colours of So Saffron and Melon Mambo combined together are so sweet and who doesn't want a triple treat ice cream on a cone! I added sprinkles in Daffodil Delight using the Ice Cream Corner Sprinkles Embellishments. 


The spotty stamp was used again but this time on Basic White Cardstock cut at 3 1/4" x 3 1/4" stamped in So Saffron Ink. The Stitched swirl die cut with Basic White Cardstock and lightly sponged Melon Mambo Ink with the Blending Brush. 


I've created a Ombre look using the Playful Alphabet Dies using the letters to create SWEET in Melon Mambo. Finishing off by wrapping the White Polka Dot Ribbon (also retiring) around the box. I've kept the Mini Pizza Box white.


Now it's time to visit the lovely Jeanna Kay to see her amazing creations and visit her blog. I'm looking forward to reading all about her Sweet Treat Packages! I'm sure you will too.


Thank you for visiting my blog today. You can purchase any of the above mentioned products by visiting my online store here or send me a direct message.

Happy crafting

Vicki Boucher

07 December 2020

Creation Station December blog hop - Ice Ice Baby


Hello and welcome,

Today's theme for the Creation Station Design Team is anything sparkles and shines. For my project I've created a Happy New Year's slimline card. I think we all need a shiny new start to the year and say goodbye to 2020. 


Using the gorgeous Balmy Blue Glimmer Paper which provides lots of glimmer and shine. I've used the paper through out by die cutting three snow flakes from the So Many Snowflakes Dies and as a backing sheet for the Playful Alphabet Dies.


Using a panel of Whisper White Cardstock for the Alphabet Dies, laying them out straight using a ruler and grid paper. Starting off  at the bottom and working my way up. Once happy with the layout, I used washi tape to secure the letters and numbers.


I've added extra shine onto the card with Clear Wink of Stella by tapping the pen against the lid which gives a nice sparkle. To finish off I've placed five of the glittery faceted Balmy Blue Gems which is a perfect match with the Glimmer Paper.


Well that's it for me today. I'm so looking forward to seeing all of the Design Team's creativity, so make sure you complete the hop. Next up is the lovely Denita who is also from Australia, click on the link below to see her project.


Happy Christmas and a Happy New Year for 2021

Vicki Boucher