Showing posts with label Daisy Punch. Show all posts

14 March 2021

Stamping Sunday March Blog Hop - Easter Parade


 Hello and welcome,

It's Stamping 2nd Sunday latest blog hop for March and the theme is Easter Parade for the Design Team. I love this time of year with Easter not too far away and with all the yummy chocolate goodies to treat ourselves or give to someone we love. 


For my projects today I was thinking what do I already have in my crafty stash that I could come up with for my Slimline Card and 3D Project. Well for one thing I couldn't go past is the Springtime Joy Stamp Set which is available in the Mini 2021 January to June Catalogue. There is a bunny (which is so adorable), chicken and lamb plus cute little flowers, butterfly and sentiments. 


Slimline Card:

Starting with the card base using Thick Whisper/Basic White Cardstock cut at 21cm x 21cm, score at 10.5cm. Cut a panel of Basic White Cardstock at 10cm x 20.5cm this will be the base for the background of the bunny scene. To create the grass I've used a stencil of scrap Cardstock and created a curve in the cardstock with the Paper Snips. 


Using Pear Pizzazz Ink I lightly added Ink with the Blending Brush to the Cardstock and then I added Balmy Blue Ink for the sky lightly fading out to the top.

As it's not Spring in the Southern Hemisphere and I didn't have any other Stamp Sets that said Happy Easter, so I used Playful Alphabet Dies and created an Ombre effect using Cinnamon Cider Ink, a strip of Basic White Cardstock and Blending Brush. I used the Foam Adhesive Sheets to add more depth to the card.


The three bunnies are stamped in Memento Ink onto Basic White Cardstock and coloured in with the Stampin' Blends using - Crumb Cake, Smoky Slate, Flirty Flamingo, Purple Posy, Daffodil Delight, Balmy Blue, Granny Apple Green and blending in with the Color Lifter.

I've fussy cut out the bunnies, butterflies and flowers sorry no Dies with the Springtime Joy Stamp Set. 

The pot plants images are from the Simply Succulents Stamp Set they are stamped in Memento Ink onto Basic White Cardstock and coloured in with the Stampin' Blends using - Purple Posy, Highland Heather, Flirty Flamingo, Smoky Slate and Balmy Blue. Then I fussy cut out the pot plants. There is a Die for the pot plant but it didn't take too long for me to cut them out. 


I've placed the bunnies inside the plant pots and added the flowers and butterflies. I like how I've made them peaky out from the pot plants. It looks like they are up to mischief! 


3D Project

To create my Daisy and bunny treat bag, I've used the All Dressed Up Dies and Basic White Cardstock. Using the bag die to cut out two pieces for the treat bag. I've added coloured ink to the dies cut pieces as I did with the Slimline Card. 
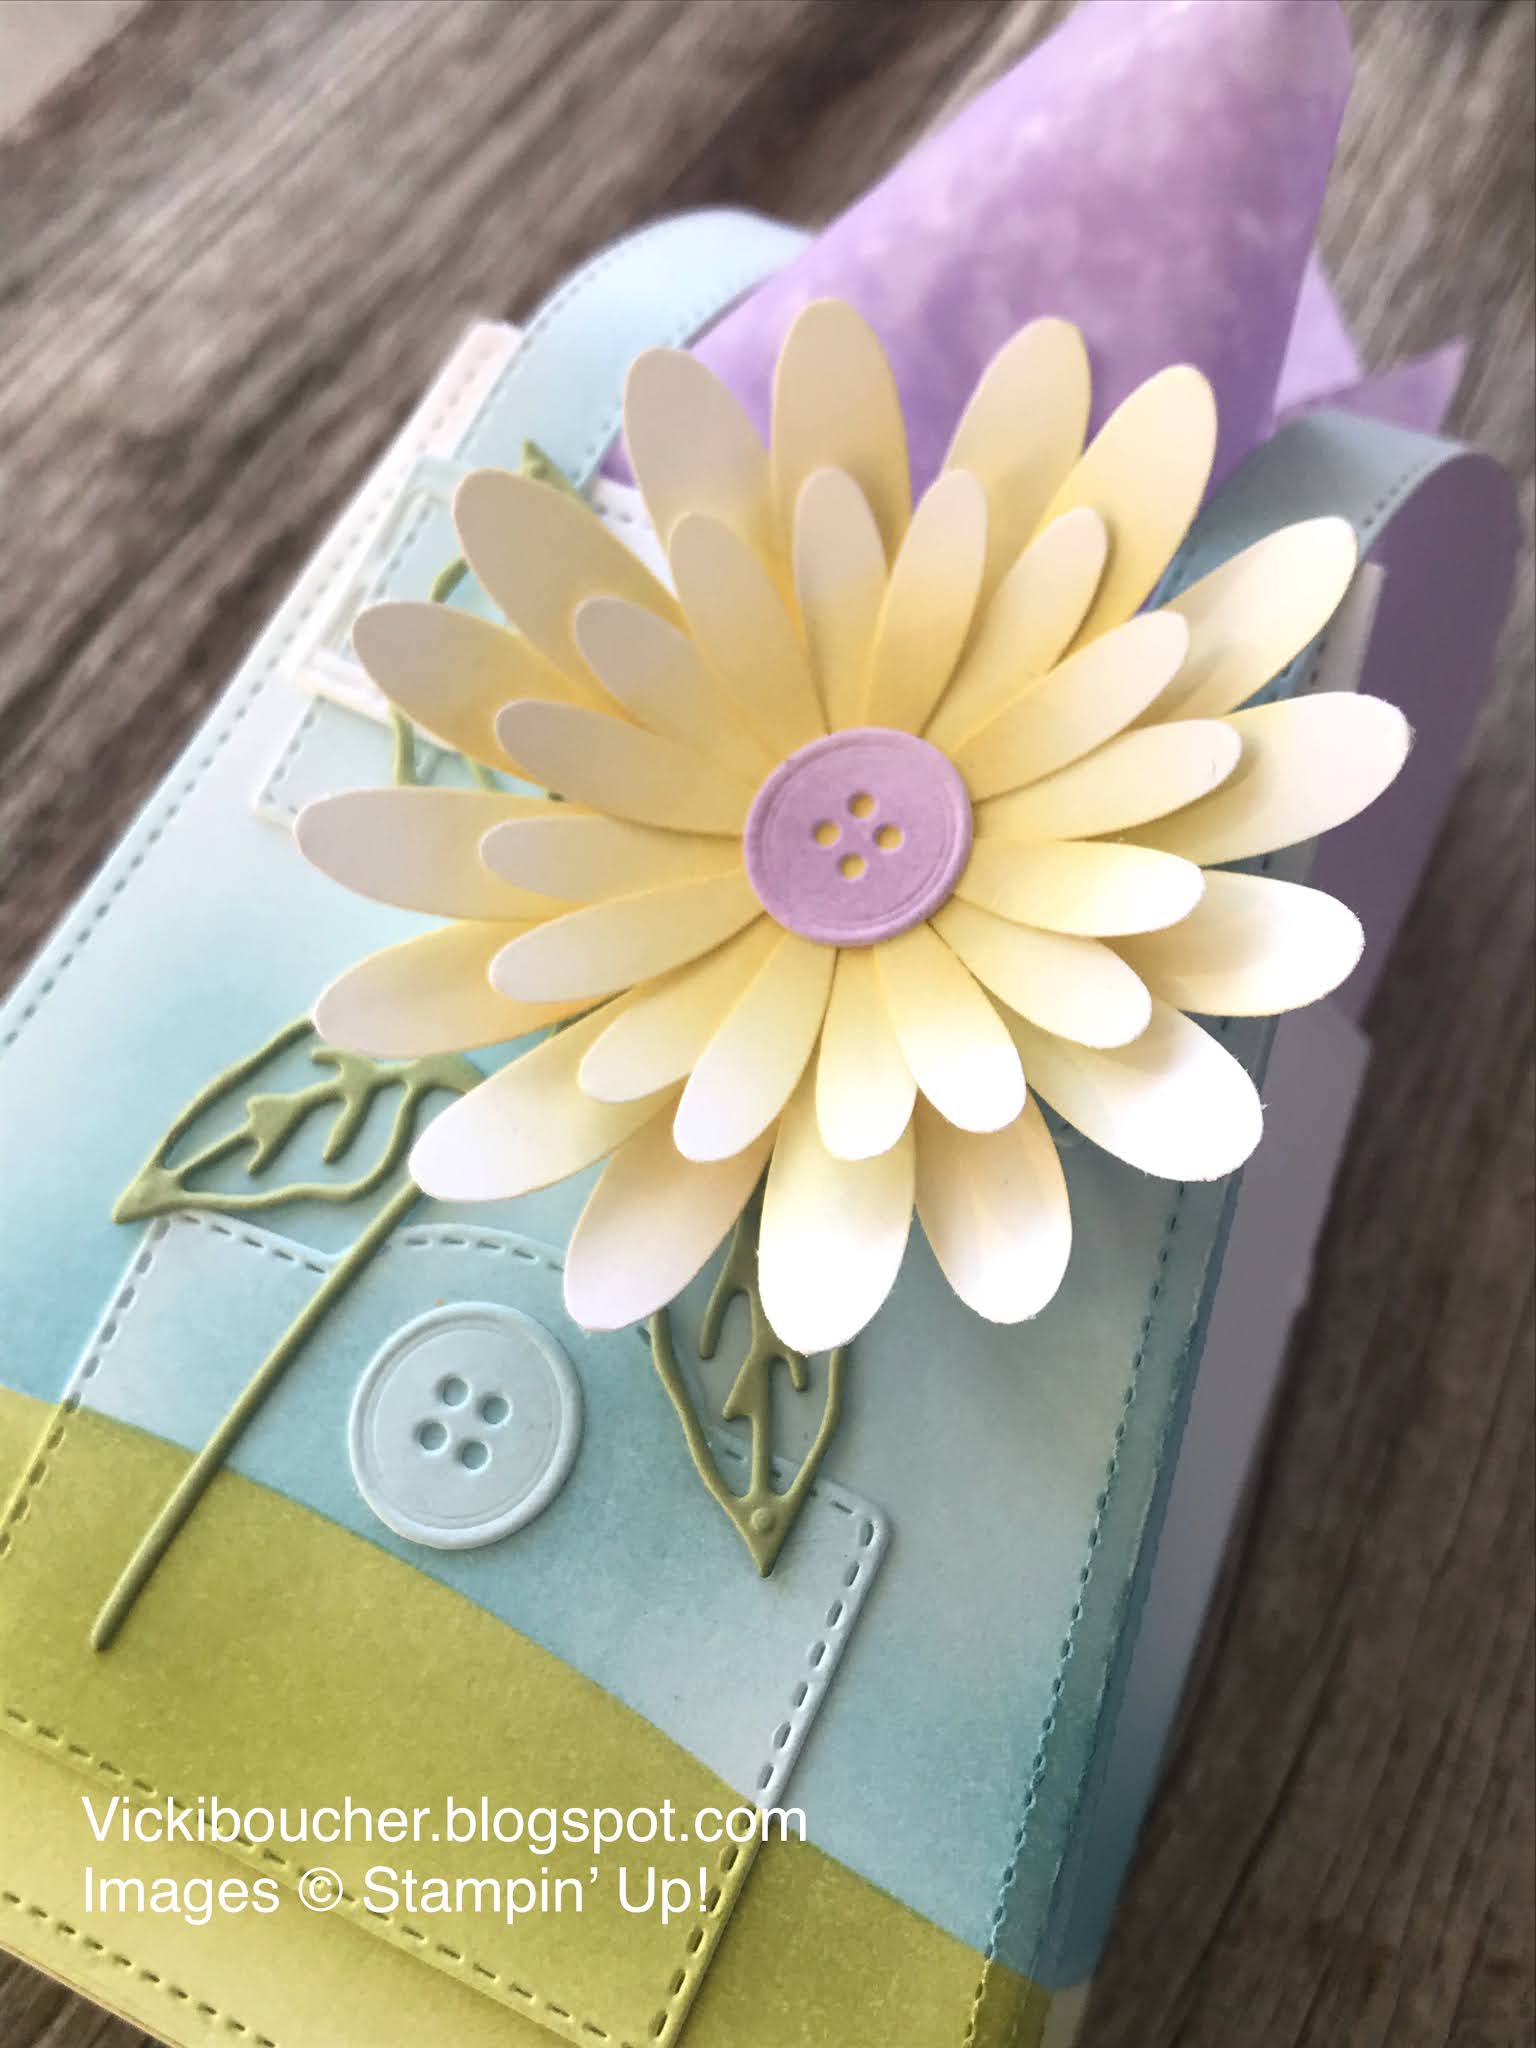


To create the Daisy I've punch out two of the Medium Daisies and two of the larger Daisies in Basic White Cardstock and added Daffodil Delight Ink with the Blending Brush. The Highland Heather center piece is a button which is from the All Dressed Up Dies and it fits perfectly in the center. The Pear Pizzazz leaf is from the Hydrangea Dies.


On the other side is the stamped images of the bunny, basket and flower all the same as the bunnies on the Slimline Card.


Thank you for visiting my blog today.To see all of the amazing projects by the Stamping Sunday Design Team please click on their names below.

1. Sara Levin  
2. Su Mohr  
3. Tami Hewlett  
4. Jay Soriano  
5. Vicki Boucher


To purchase any of the above mentioned Stampin' Up! products, please visit my online store here.

Happy Stamping

Vicki Boucher


06 September 2020

Creation Station "Tool Time" September Blog Hop


Welcome to the latest Creation Station blog hop for the month of September, the theme for this month is to focus on a particular tool from Stampin' Up! 


I just couldn't choose on one particular tool for my Daisy and Plaid Tidings project, I ended up using a few of them.


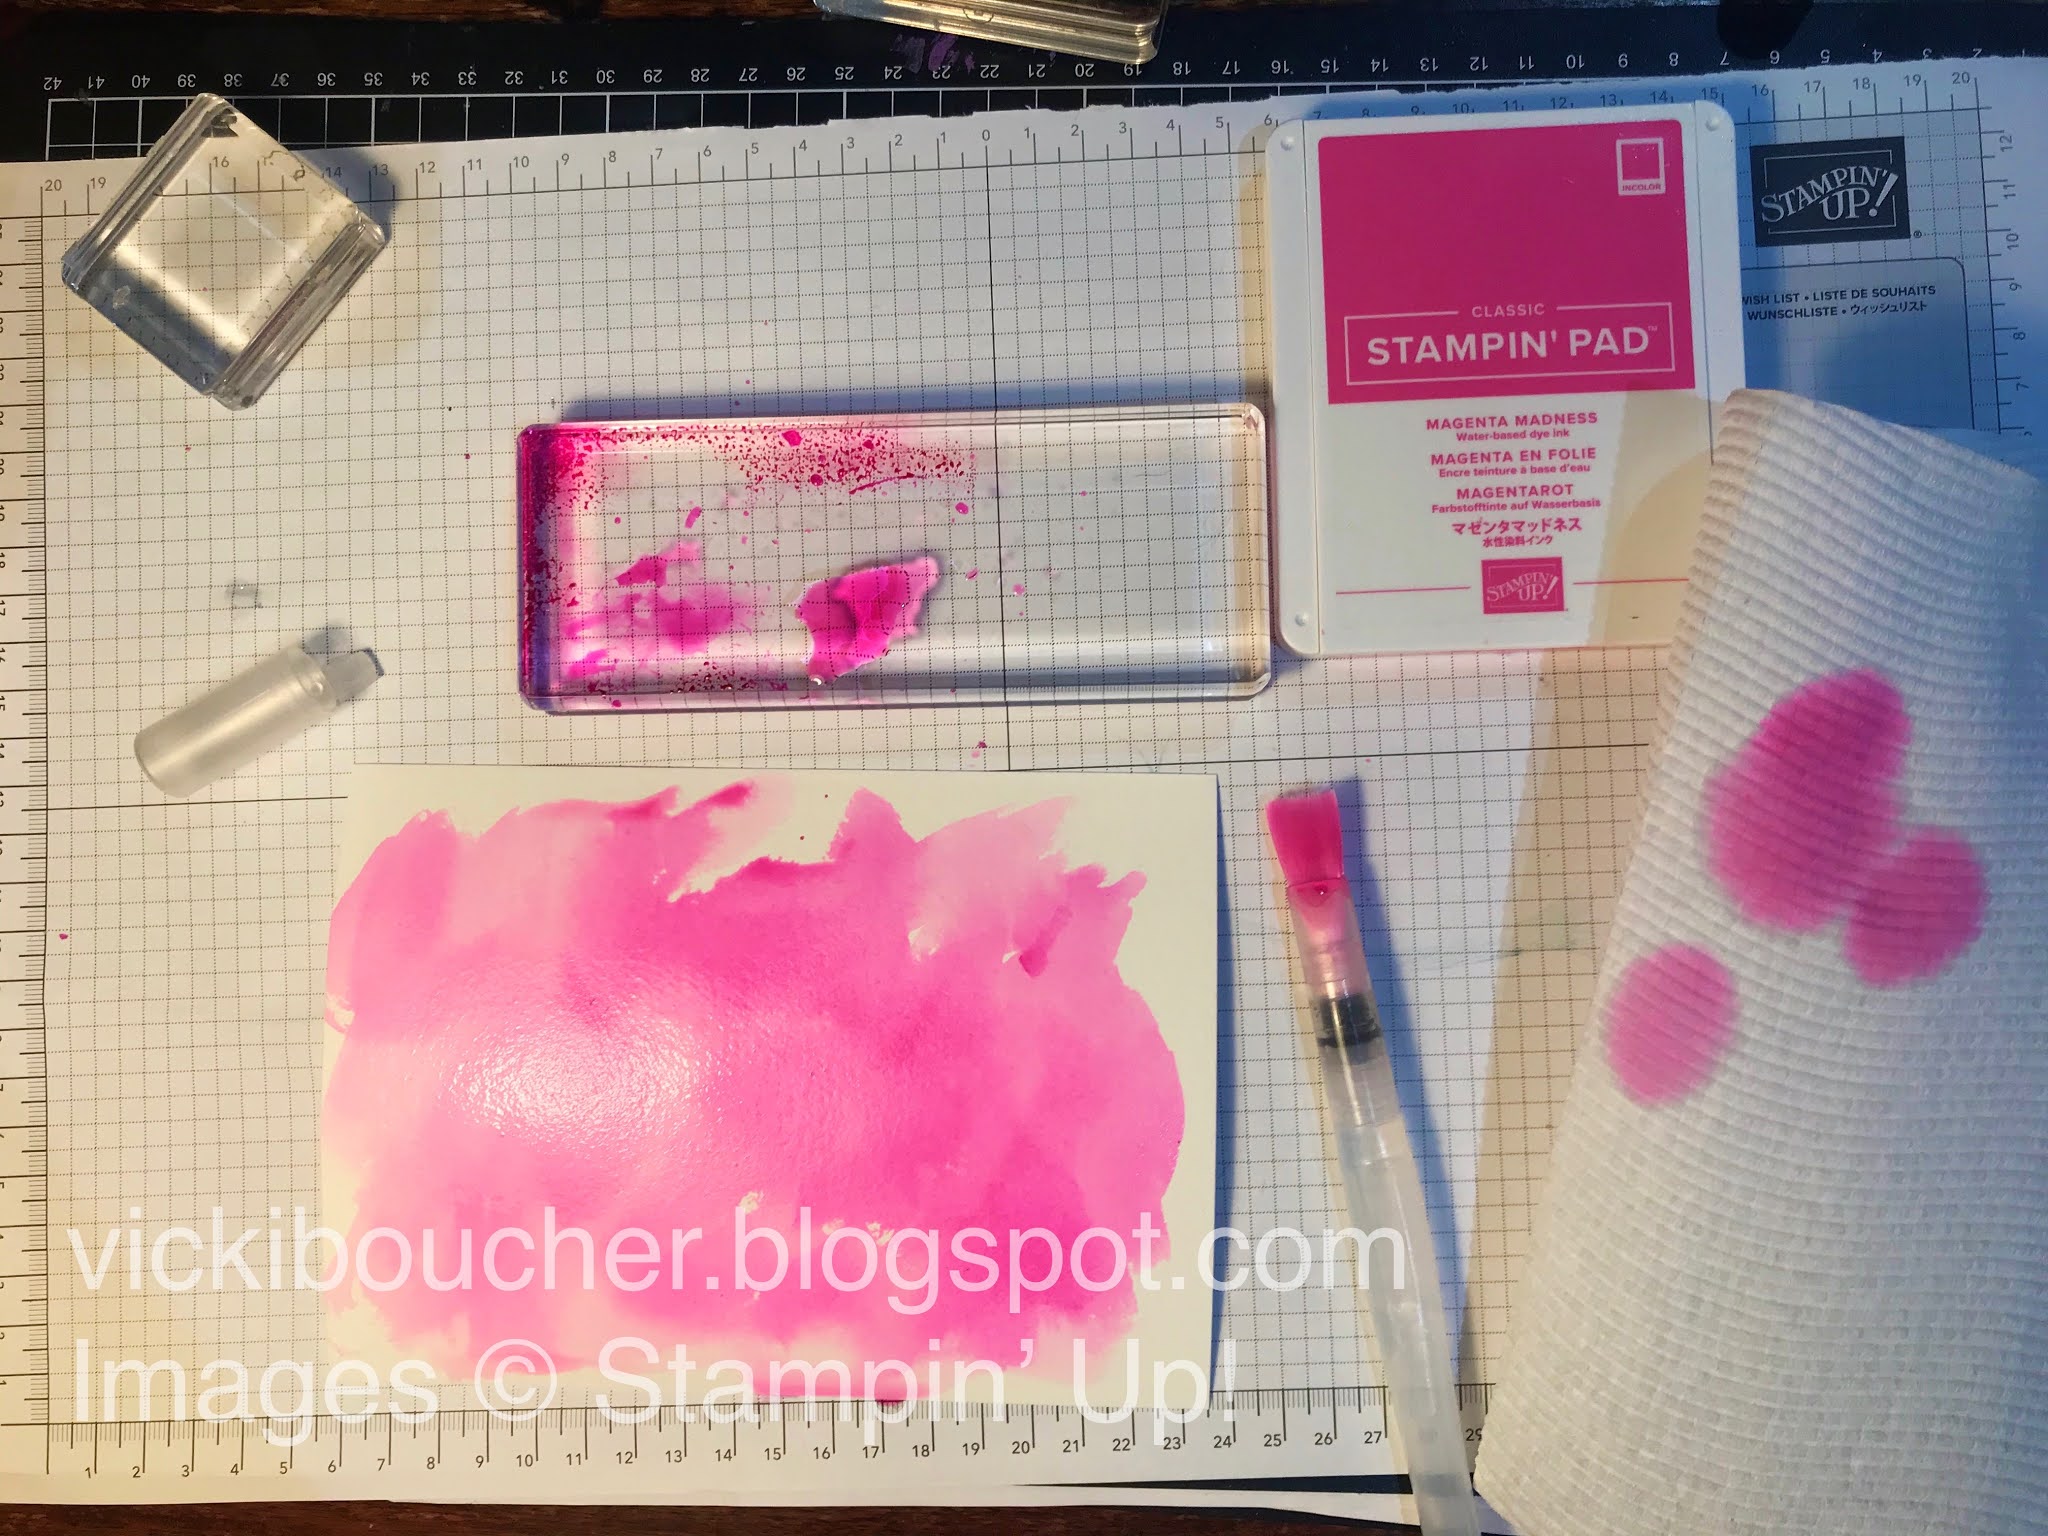
To create the Daisy, I started off with a sheet of Watercolor Paper, Magenta Madness Ink, Stampin' Spritzer and Water Painters. I've spritzed water using the Stampin' Spritzer onto the Watercolor Paper and then I applied Ink with the large flat brush onto the paper. I like to create different shading with the ink, once it's dry I then added splatter and droplets of ink. This gives a interesting look for my Daisy. 

Once the ink is dry on the Watercolor Paper, I then punched out using both Daisy Punches, 3 of the Medium Daisy Punch and 3 of the large Daisy Punch.

I've used the Bone Folder by curling each of the Daisy petals. The other tool I've used is the Take Your Pick Tool which is a multipurpose tool for many different uses. I've used the large stylus which is part of a changeable double-ended tips, also included is the paper piercer, mini spatula and small stylus. 

I've used the large stylus and Pierce Mat to create circle motions in the center of the flower. Once the punched out Daisies are adhere with Glue Dots, for the center piece I used Bumblebee Enamel Dots.

The additional Stampin' Up! products are Plaid Tidings 6"x 6" DSP, Bumblebee Cardstock for the card base, Bumblebee Ribbon, a Good Hoop and the In Good Taste Elements.


The sentiment is from the Best Year Stamp Set in Memento Ink onto Whisper White Cardstock.

Make sure to visit all of the Creation Station Design Team's blogs and to see their amazing creations for the month of September. Come back next month for more inspiration and to see what we create.

Now it's time to head on over to Julie's blog and to see her amazing project! 


Happy Stamping!

Vicki Boucher


05 July 2020

Creation Station July Blog Hop 2020 - 2022 In Color Combos


Welcome to the latest Creation Station blog hop and today we will be sharing the new In Colors for 2020 - 2022 is the theme. 

In Colors 2020-2022


The five new In Colors are Cinnamon Cider, Just Jade, Bumblebee, Magenta Madness and Misty Moonlight. They come in a range of different mediums such as Ink, Cardstock, Ribbon, Embellishments and more.


My projects for this theme will include all of the new In Colors, Ridiculously Awesome Stamp Set (page 90 of the Annual Catalogue) which is inspired by Million Dollar Sales Achiever Ronda Wade and designed by Sean Douglass, Sara's husband. 

Ridiculously Awesome Stamp Set

I just love the bold designs of the sentiments and it was so perfect to use each of the greetings with the 2020 - 2022 In Colors.


The Bumlebee card, I've used the Medium Daisy Punch, sponging the petals with the Sponge Dauber and added tiny dots with the Stampin' Write Marker in Basic Black for the center. 


To create the watercolor inked up background panel, I've applied Bumblebee ink onto a piece of Window Sheet and spritz with water using the Stampin' Spritzer. Then smudge the Window Sheet onto the surface of the Shimmery White Cardstock until I was happy with application. 

I've added Basic Black sprigs from the Sunflowers Dies and the Black/White Baker's Twine which all balances out nicely.


The Misty Moonlight card, I've used the 2020-2022 In Color 6"x 6" DSP, sponge Misty Moonlight Ink with the Sponge Dauber onto the card base and also onto the Whisper White Stitched Circle piece. 

I've inked up the leaf stamp from the Rooted In Nature and stamped 3 times showing the different shades of Misty Moonlight. 


The Just Jade card, I've used the large bristle brush from the Water Painters, inked up the brush in Just Jade Ink and I've created wide stripes onto the panel of Shimmery White Cardstock. 


I've used Just Jade Ink for the flower stamp from the Tasteful Textile Stamp Set, coloured them in with the Just Jade Stampin' Blends and fussy cut the images out. Using the 2020-2022 In Color 6"x 6" DSP in Just Jade for the large Stitched Circle Die and also a panel of DSP place onto the card base. 

I've inked up the Sponge Dauber in Just Jade Ink and sponged the edges of the card base. This gives a darker green to the card. 


The Magenta Madness card, is a bright and fun color to play with, for this card I've a added the panel of 2020-2022 6"x 6" polka dot DSP is just so cute, so I add a wash of Magenta Madness with the wide bristle brush from the Water Painters on Shimmery White Cardstock. 


I added a layer of White Embossing Paste using the dotted mask from the Basic Pattern Decorative Masks onto the Shimmery White Cardstock. 

To finish, I added the smaller die cut images from the Many Layered Blossoms Dies, in the Magenta Madness Cardstock and the top layer in a watercolour wash of Magenta Madness on Shimmery White Cardstock.


The Cinnamon Cider card, is my last card and I so enjoyed using the large stamp images from the Celebrate Sunflowers Stamp Set. Firstly I used a panel of Shimmery White Cardstock, using the same technique as the Bumblebee card, I've applied Cinnamon Cider ink onto a piece of Window Sheet and spritz with water using the Stampin' Spritzer. Then smudge the Window Sheet onto the surface of the Shimmery White Cardstock until I was happy with application. 


The smaller sunflowers are stamped in Memento Ink onto Whisper White Cardstock and colouring them in with Cinnamon Cider Stampin' Blends. The panel of Basic Black Cardstock is embossed in the Pinewood Planks 3D Embossing Folder which compliments the greeting. 

To finish, I've sponged the Cinnamon Cider card base with the Sponge Dauber and Cinnamon Cider Ink.


Be sure to visit everyone’s blog and see their amazing creations for the month of July. Make sure you came back for next month, for more inspiration and to see our creations.

Now it’s time to head on over to Denita Wright-Smee to see her amazing project.


Thanks for stopping by!

Vicki Boucher


08 April 2020

Colour INKspiration Challenge #75


Hello and welcome,

Tonight, is the latest Colour INKspiration Challenge #75 and this bright colourful photo is our inspiration to create something special. The colours for the challenge are Daffodil Delight, Call Me Clover, Gorgeous Grape, Melon Mambo and Mango Melody. You can also add Whisper White, Basic Black, Very Vanilla and metallics.


The challenge runs for almost 2 weeks and will end at 7pm (AEST) on 20th April 2020. I hope you’ll enter into the Colour INKspiration Challenge we would love to see your creation.


The card I’ve created is using the Daisy Lane Bundle which is from the Stampin’ Up! Annual Catalogiue 2019 – 2020. This bundle would have to be one of my favorites out of the Annual Catalogue as I love the sentiments and the Daisy Punches are fun to work with.


I’ve used both of the Daisy Punches for my project, I've punch them out with Whisper White Cardstock and sponged ink onto the Daisies petals with the Sponge Dauber. The yellow centers are from the Perennial Essence Floral Centers which finish off the Daisies nicely. I’ve also added Clear Wink Of Stella to add a little sparkle to the Daisies.


I’ve used the large die from the Stitched So Sweetly Dies, die cut out in Whisper White Cardstock and I’ve sponged Call Me Clover Ink onto the Cardstock.

The card base is Daffodil Delight and I’ve spritzed Daffodil Delight Ink by using the Stampin’ Write Marker by flicking Ink with the lid onto the Cardstock.


Make sure you visit our Facebook group to enter the competition, we would love to see how you would use this latest colour challenge.

Click here at Colour INKSpiration Facebook group to take part and upload the photo of your creation. You don’t need a blog to enter either. Share with your crafty friends, so they can join in with the challenges too.

Hope to see you there!

Thank you for stopping by today.

Happy Crafting

Vicki Boucher

Product List
Ink: Daffodil Delight, Call Me Clover, Gorgeous Grape, Melon Mambo and Mango Melody
Cardstock: Daffodil Delight and Whisper White
Stamp Set: Daisy Lane
Punches: Medium Daisy Punch and Daisy Punch
Dies: Stitched So Sweetly Dies
Colouring Tools: Sponge Daubers and Clear Wink of Stella
Embellishments:  Perennial Essence Floral Centers

18 September 2019

Just Add Ink Colour Challenge #474

Hello and welcome,

Today I have joined in with the Just Add Ink Colour Challenge #474 using the gorgeous colours Rococo Rose, Blackberry Bliss and Mossy Meadow. The team from Just Add Ink have created some amazing creations and I just had to create a card using these colours. To see their Facebook page click here for more inspiration.


I've used the Daisy Lane Bundle, punching out Daisies with the Large Daisy Punch and Medium Daisy Punch. I've added Rococo Rose and Blackberry Bliss ink with a Sponge Dauber blending the two colours together. I've also a little sparkle with Wink of Stella Glitter Brush and placed Clear Facetted Gems for the centre of each Daisy.


The leaves are from the Flourish Dies and I've added Mossy Meadow ink with a Stamping Sponge. 

The Stitched Rectangles Dies have cut a piece of Shimmery White Cardstock and Rococo Rose Gingham In Color 2019-2021 6"x 6" DSP. I've inked up the Shimmery White piece with Mossy Meadow and flicked ink from the Aqua Painter. 


The card base is Blackberry Bliss this is such a beautiful colour and I've added Clear Wink Of Stella by flicking ink onto the card. 


To finish off the card I've wrapped Rose Metallic Thread around the Cardstock three times. The Rose is so beautiful against these colours and it complements the colours so well. The sentiment is Silver Embossed onto Blackberry Bliss Cardstock and fussy cut out.

Thank you for visiting my blog today and you must visit Just Add Ink Team to be see their amazing creations.

Happy Crafting

Vicki Boucher

Product List:

Stamp Set: Daisy Lane
Punches: Daisy and Medium Daisy
Dies: Flourish and Stitched Rectangles
Cardstock/Papers: Blackberry Bliss, Shimmery White and In Color 2019-2021 6" x 6" DSP
Colouring Tools: Sponge Daubers, Stamping Sponges, Clear Wink Of Stella Glitter Brush, Embossing Buddy, Versamark, Heat Tool and Silver Stampin' Emboss Powder
Other Stampin' Up! Products: Rose Metallic Thread, Clear Facetted Gems and Big Shot (retired)


27 August 2019

International Highlights Winners Blog Hop August 2019


Hello and welcome,


I have some exciting news to tell you! Just a few weeks ago I shared a card that I created for Kylie’s International Highlights and I was lucky to be in the Top Ten. Thank you to everyone who voted for me.


There is a link at the bottom of this blog to view all of the other winners. I just know you’ll want to see what they’ve been creating too.


Now for my card that I’ve created. I just love the Daisy Lane Bundle and I wanted to make a card using Rococo Rose which is one of the new In-colors and Blushing Bride. I love adding a few layers when creating my card and I think I’ve achieved that too.


The Daisy has been created by using a piece of the Fluid 100 Water Color Paper it's nice and thick for watercolouring. I've inked it up using my Aqua Painter with Rococo Rose and Blushing Bride ink. Once the ink had dried up, I punched out the Daisies using both Daisy Punches, two times each. To give each of the Daisy Petals some added colour, I’ve inked up a Sponge Dauber with Rococo Rose and lightly sponged the tips of the petals. The gold leaf has been gold embossed with Gold Stampin’ Emboss Powder and heat set with the Heat Tool, then fussy cut out.


I’ve used the Scripty 3D Embossing Folder on a piece of Shimmery White Cardstock, I wanted a subtle look by adding Rococo Rose ink with the Aqua Painter and Die cut out the Cardstock with the 3rd largest Stitched Rectangles Die. I just love the detail of the stitching it just gives that little bit extra to a card.


The next layer is a piece of Blushing Bride Cardstock and the Birch Stamp which I stamped off once in Blushing Bride Ink before stamping onto the Cardstock. I used the 2nd largest Stitched Rectangles Die for this piece.


The third layer that I’ve used is Whisper White Cardstock and I've embossed it with the Subtle 3D Embossing Folder. To give the edges a vintage look I used the blade of my Paper Snips and roughly ran it along the edge of the Cardstock. Then I sponged Rococo Rose ink around the edges with the Sponge Dauber. I just love this look, do you?


I like to make the pieces of Cardstock layered on an angle, so you can see the different layers and textures of the card. The Daisy has been placed over the gold leaf and adding some bling to my card by placing a Gold Faceted Gem for the centre.

To finish off the card I wanted to add the beautiful Rococo Rose 1/2” Gathered Ribbon and I've layered it under the sentiment. The Gold Embossed sentiment is from the Magnolia Blooms Stamp Set.

Thank you for visiting my blog today and I hope you enjoy the International Blog Hop.

Until next time....

Happy Crafting

Vicki Boucher

Live in Australia? I would be happy to send you a current Stampin' Up! Catalogue out to you. Please send me a message for more information.

To shop with me please click here to go to my Online Store.

Product List

Stamps: Daisy Lane, Birch and Magnolia Blooms
Dies: Stitched Rectangles
Punches: Daisy and Medium Daisy
Embossing Folders: Subtle 3D and Scripty 3D
Inks: Rococo Rose and Blushing Bride
Cardstock: Rococo Rose, Blushing Bride, Fluid 100 Water Color Paper, Shimmery White and Whisper White
Colouring Tools: Aqua Painter, Versamark, Sponge Dauber, Embossing Buddy, Heat Tool and Gold Stampin' Emboss Powder
Stampin' Up! Other Products: 1/2" Rococo Rose Gathered Ribbon, Gold Faceted Gems, Tear and Tape and Multipurpose Liquid Glue and Dimensionals
Retired Products: Big Shot